一、概述
1.安装说明
安装方式:
- 部署虚拟设备服务 ds-virtual 模拟设备
- EdgeX 导出数据到 EMQX,EMQX 作为 mqtt-broker
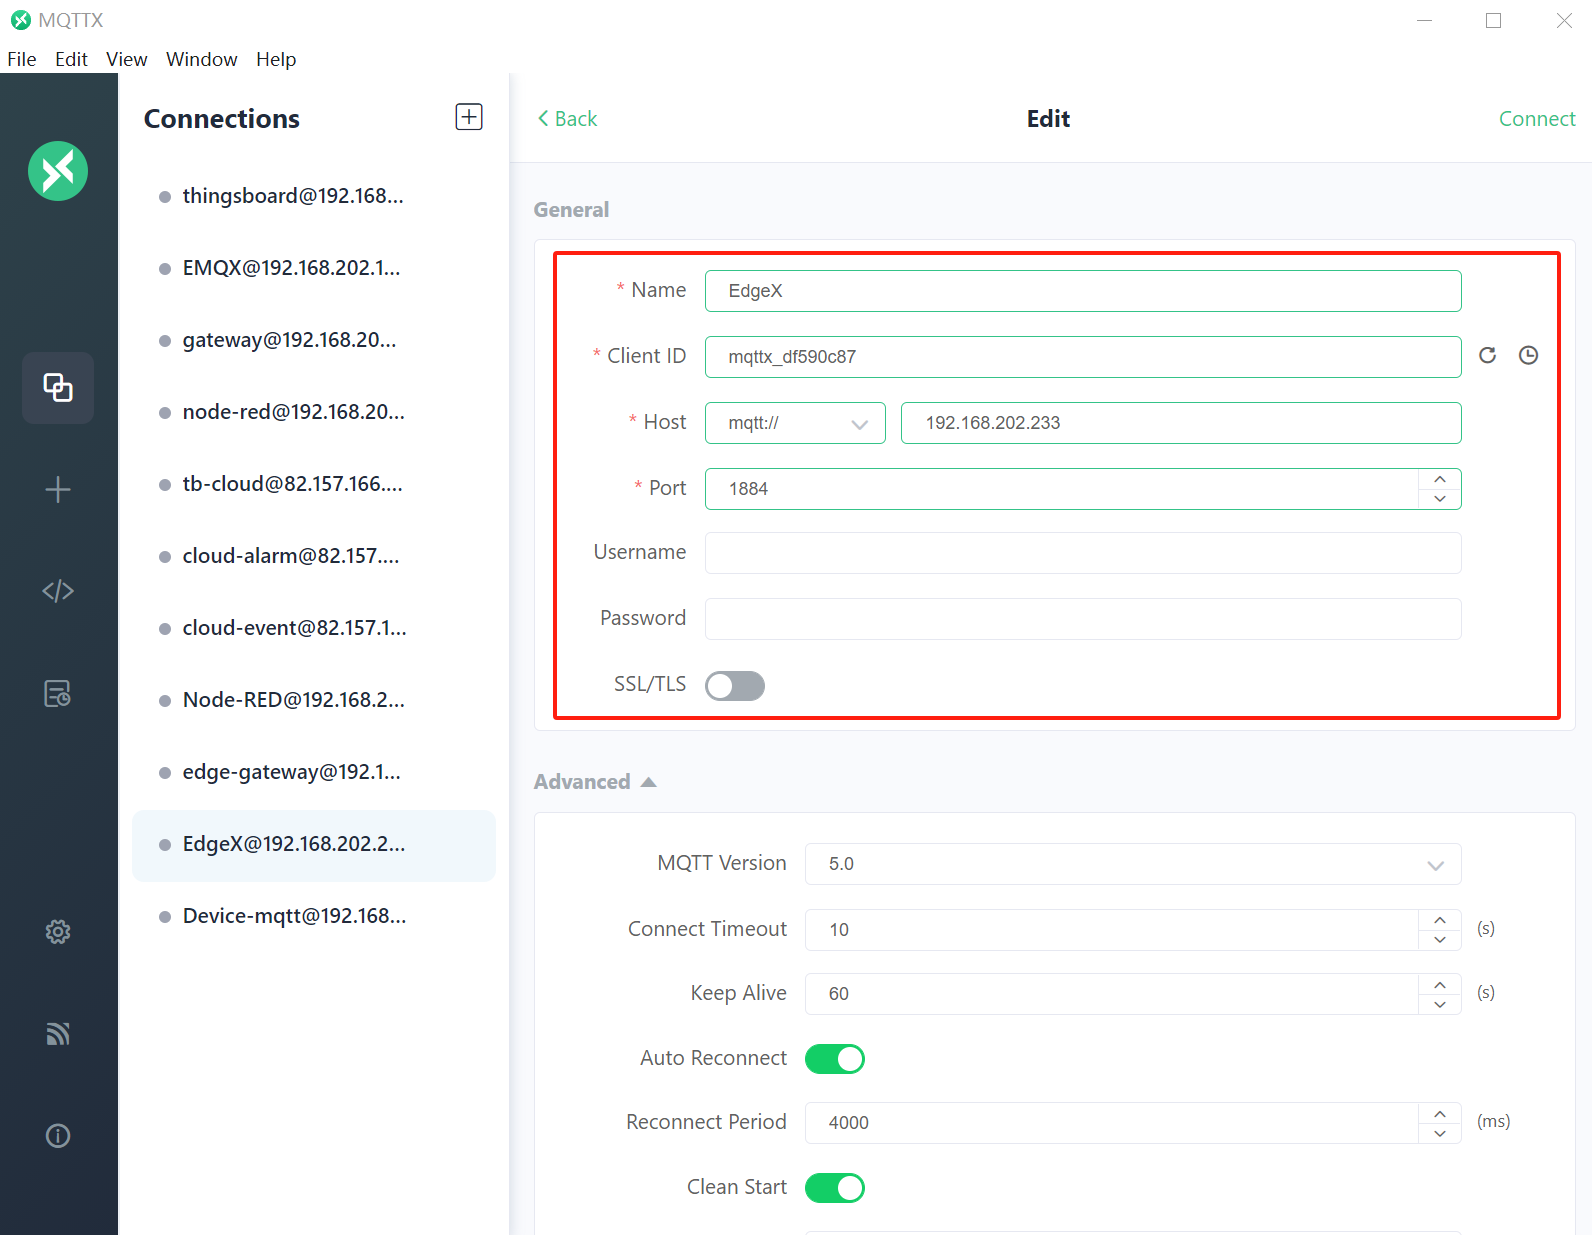
- 使用 MQTTX 工具从 EMQX 订阅导出数据
2.安装 EMQX
1
2
$ docker run -d --name emqx -p 18084:18083 -p 1884:1883 emqx/emqx:4.4.17
1
2
3
4
5
6
7
8
9
10
11
12
13
14
[root@edgex custom-config]# docker run -d --name emqx -p 18084:18083 -p 1884:1883 emqx/emqx:4.4.17
Unable to find image 'emqx/emqx:4.4.17' locally
4.4.17: Pulling from emqx/emqx
3d2430473443: Pull complete
9affe486a1de: Pull complete
59289c77776e: Pull complete
7f4b43e76fd0: Pull complete
a73c64d8e555: Pull complete
4f4fb700ef54: Pull complete
ff83ca607058: Pull complete
7787af4360dd: Pull complete
Digest: sha256:6b81ca26a7f7243e46186b35ac9f1580b497cf30fd09064ca7ee4875934b66bf
Status: Downloaded newer image for emqx/emqx:4.4.17
13a37d777b15408802ca87da2dd296a4359767dc4c224d72dab93bbf4b051e33
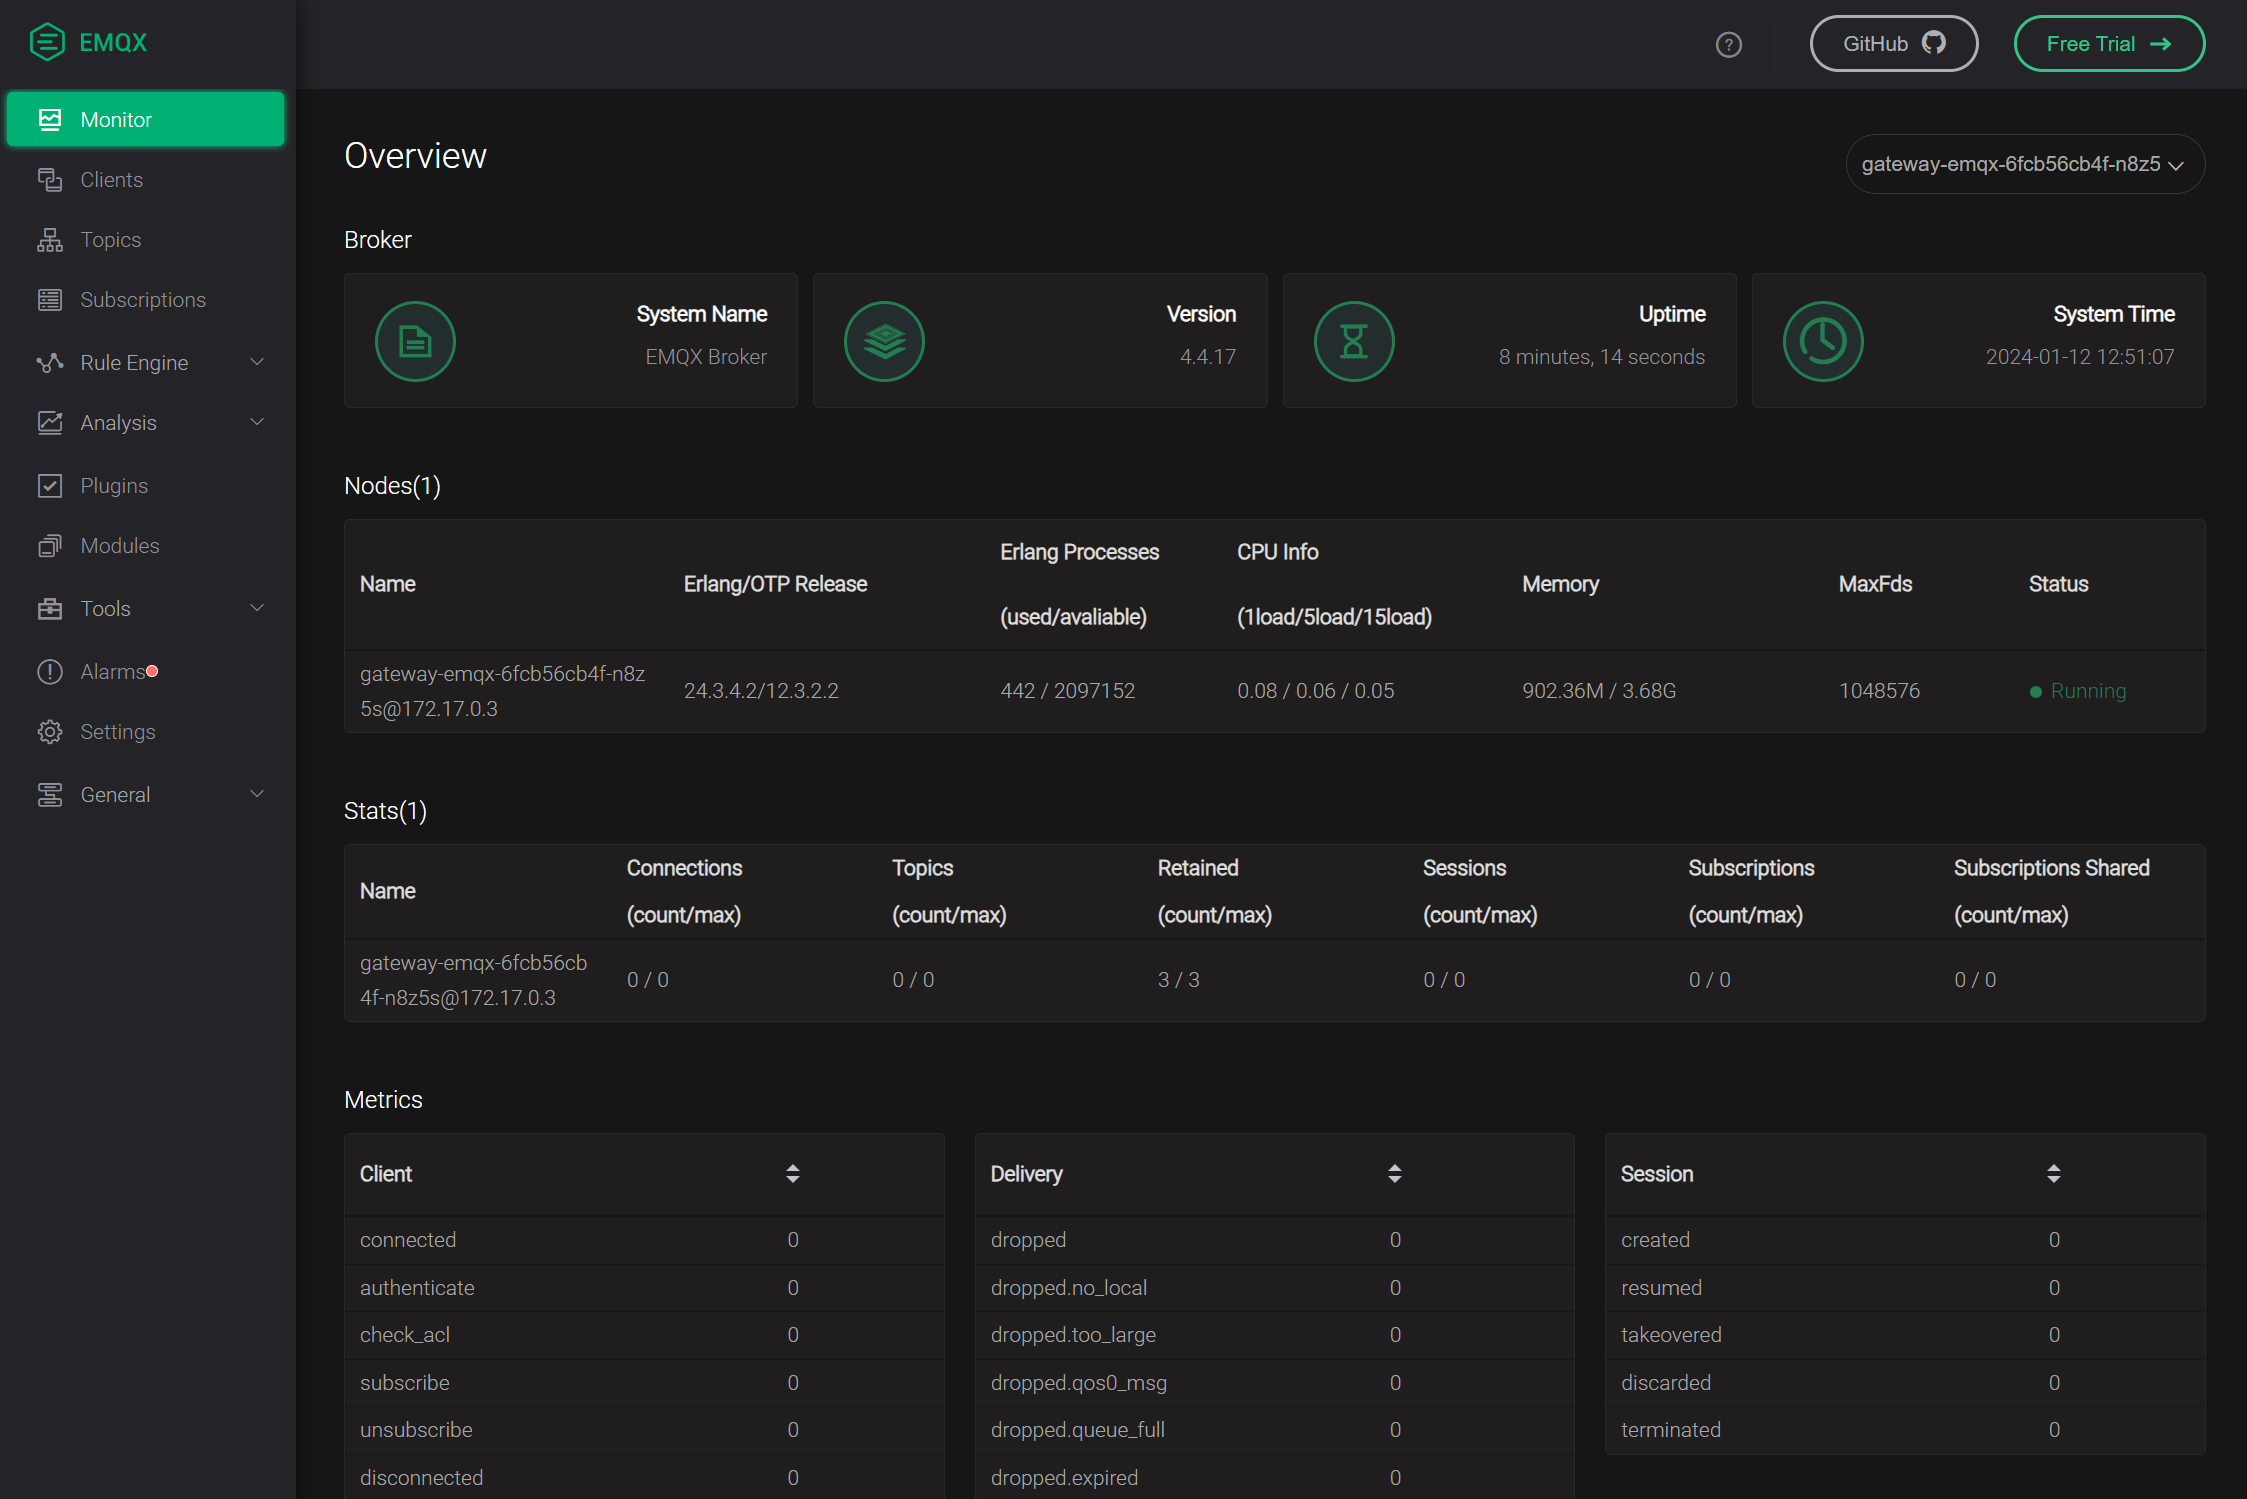
访问EMQX
1
2
3
4
5
6
# 访问地址

http://192.168.202.233:18084
账号:admin
初始密码:public
修改密码:1qaz2wsx
3.MQTTX 工具
二、安装部署
1.docker-comepse
1
2
3
4
5
6
7
8
9
10
11
12
13
14
15
# 1.克隆 edgex-compose
$ git clone git@github.com:edgexfoundry/edgex-compose.git
$ git clone https://github.com/edgexfoundry/edgex-compose.git
$ cd edgex-compose
$ git checkout v3.1


# 2.生成 docker-compose.yml 文件(注意这包括 mqtt-broker)
$ cd compose-builder
$ make gen ds-virtual asc-mqtt no-secty


# 3.检查生成的文件
$ ls | grep 'docker-compose.yml'
docker-compose.yml
1
2
3
4
5
6
7
8
9
10
11
12
13
14
15
16
17
18
19
20
21
22
23
24
25
26
27
28
29
30
31
32
33
34
35
36
37
38
39
40
41
42
[root@edgex mqtt-device]# git clone https://github.com/edgexfoundry/edgex-compose.git
Cloning into 'edgex-compose'...
remote: Enumerating objects: 4779, done.
remote: Counting objects: 100% (2916/2916), done.
remote: Compressing objects: 100% (173/173), done.
remote: Total 4779 (delta 2831), reused 2804 (delta 2741), pack-reused 1863
Receiving objects: 100% (4779/4779), 1.22 MiB | 450.00 KiB/s, done.
Resolving deltas: 100% (4042/4042), done.


[root@edgex mqtt-device]# ll
total 4
drwxr-xr-x. 6 root root 4096 Feb  1 04:10 edgex-compose


[root@edgex mqtt-device]# cd edgex-compose/
[root@edgex edgex-compose]# git checkout v3.1
Note: checking out 'v3.1'.

You are in 'detached HEAD' state. You can look around, make experimental
changes and commit them, and you can discard any commits you make in this
state without impacting any branches by performing another checkout.

If you want to create a new branch to retain commits you create, you may
do so (now or later) by using -b with the checkout command again. Example:

  git checkout -b new_branch_name

HEAD is now at 488a3fe... Merge pull request #424 from lenny-intel/device-mqtt-secure-mode-napa


[root@edgex edgex-compose]# cd compose-builder/

[root@edgex compose-builder]# make gen ds-virtual asc-mqtt no-secty
echo MQTT_VERBOSE=
MQTT_VERBOSE=
docker compose  -p edgex -f docker-compose-base.yml -f add-device-virtual.yml -f add-asc-mqtt-export.yml convert > docker-compose.yml
rm -rf ./gen_ext_compose


[root@edgex compose-builder]# ls | grep 'docker-compose.yml'
docker-compose.yml
1
2
3
4
5
6
7
8
9
10
11
12
13
14
15
16
17
18
19
20
21
22
23
24
25
26
27
28
29
30
31
32
33
34
35
36
37
38
39
40
41
42
43
44
[root@edgex compose-builder]# vim docker-compose.yml

name: edgex
services:
  app-mqtt-export:
    container_name: edgex-app-mqtt-export
    depends_on:
      consul:
        condition: service_started
        required: true
      core-data:
        condition: service_started
        required: true
    environment:
      EDGEX_PROFILE: mqtt-export
      EDGEX_SECURITY_SECRET_STORE: "false"
      SERVICE_HOST: edgex-app-mqtt-export
      WRITABLE_LOGLEVEL: INFO
      WRITABLE_PIPELINE_FUNCTIONS_MQTTEXPORT_PARAMETERS_BROKERADDRESS: MQTT_BROKER_ADDRESS_PLACE_HOLDER
      WRITABLE_PIPELINE_FUNCTIONS_MQTTEXPORT_PARAMETERS_TOPIC: edgex-events
    hostname: edgex-app-mqtt-export
    image: edgexfoundry/app-service-configurable:3.1.0
    networks:
      edgex-network: null
    ports:
      - mode: ingress
        host_ip: 127.0.0.1
        target: 59703
        published: "59703"
        protocol: tcp
    read_only: true
    restart: always
    security_opt:
      - no-new-privileges:true
    user: 2002:2001
    volumes:
      - type: bind
        source: /etc/localtime
        target: /etc/localtime
        read_only: true
        bind:
          create_host_path: true

......
2.修改配置
1
2
3
4
5
6
7
8
9
10
11
12
13
14
15
16
17
18
19
20
21
# 修改配置
WRITABLE_PIPELINE_FUNCTIONS_MQTTEXPORT_PARAMETERS_BROKERADDRESS导出地址及WRITABLE_PIPELINE_FUNCTIONS_MQTTEXPORT_PARAMETERS_TOPIC导出主题可以自定义以方便服务接受。
tcp://broker.mqttdashboard.com:1883
tcp://192.168.202.233:1884


[root@edgex compose-builder]# vim docker-compose.yml

name: edgex
services:
  app-mqtt-export:
    container_name: edgex-app-mqtt-export
......

    environment:
      EDGEX_PROFILE: mqtt-export
      EDGEX_SECURITY_SECRET_STORE: "false"
      SERVICE_HOST: edgex-app-mqtt-export
      WRITABLE_LOGLEVEL: INFO
      WRITABLE_PIPELINE_FUNCTIONS_MQTTEXPORT_PARAMETERS_BROKERADDRESS: tcp://192.168.202.233:1884
      WRITABLE_PIPELINE_FUNCTIONS_MQTTEXPORT_PARAMETERS_TOPIC: edgex-events
3.启动 EdgeX Foundry
使用以下命令部署 EdgeX:
1
2
3
4
5
6
7
8
9
10
11
$ cd edgex-compose/compose-builder
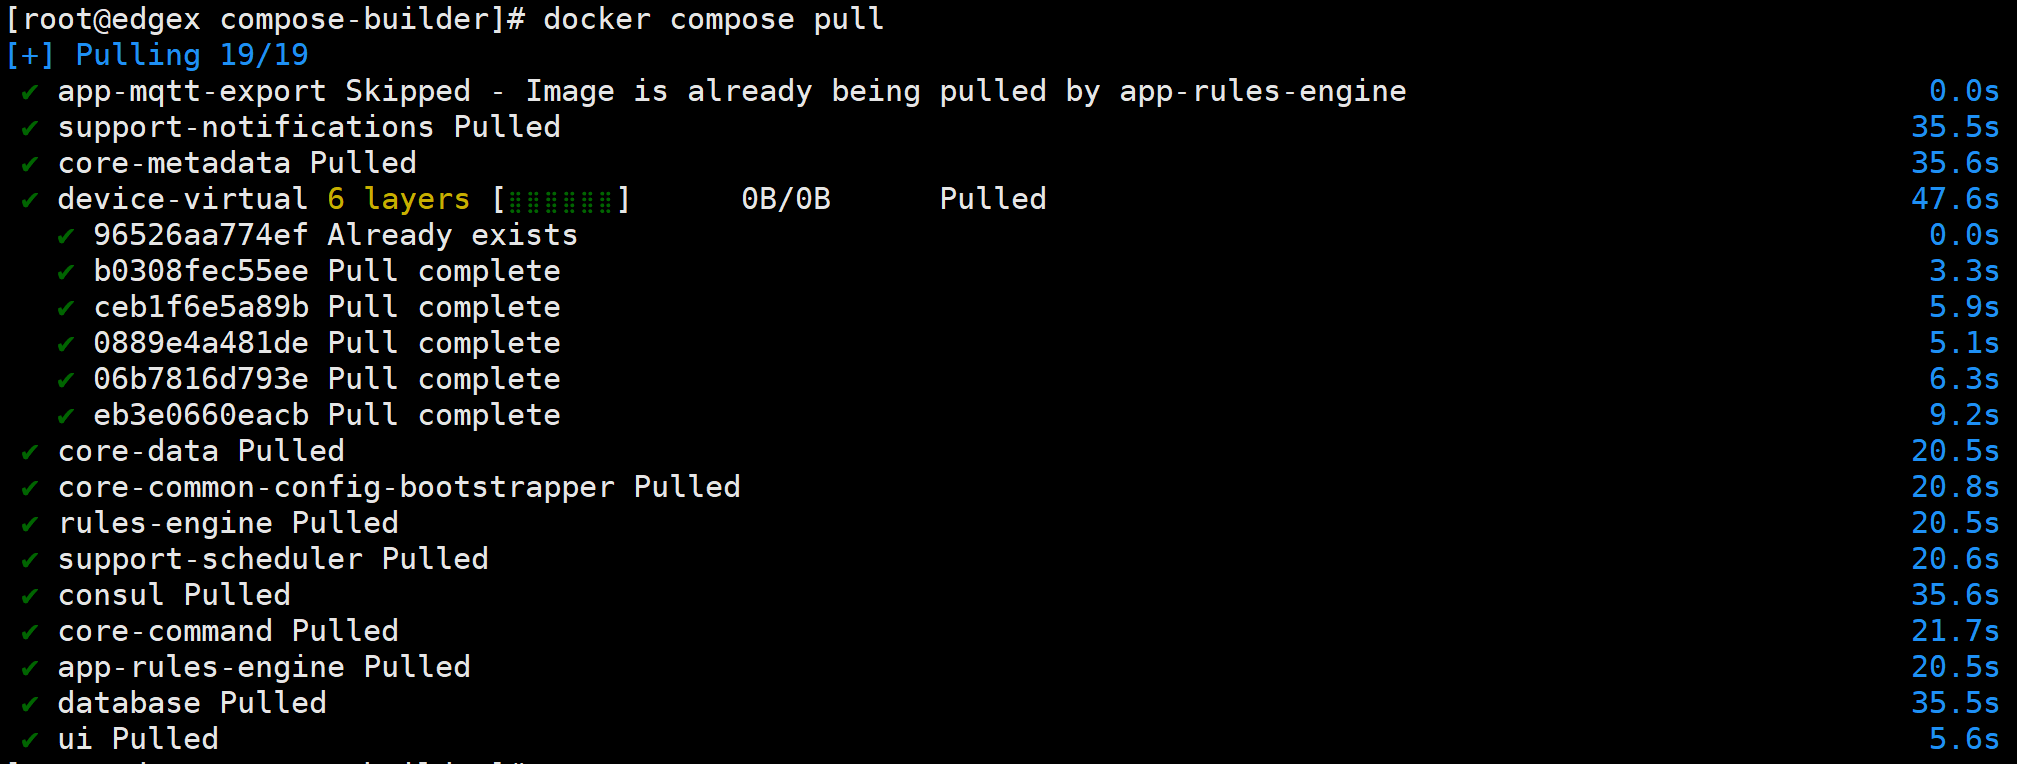
$ docker compose pull
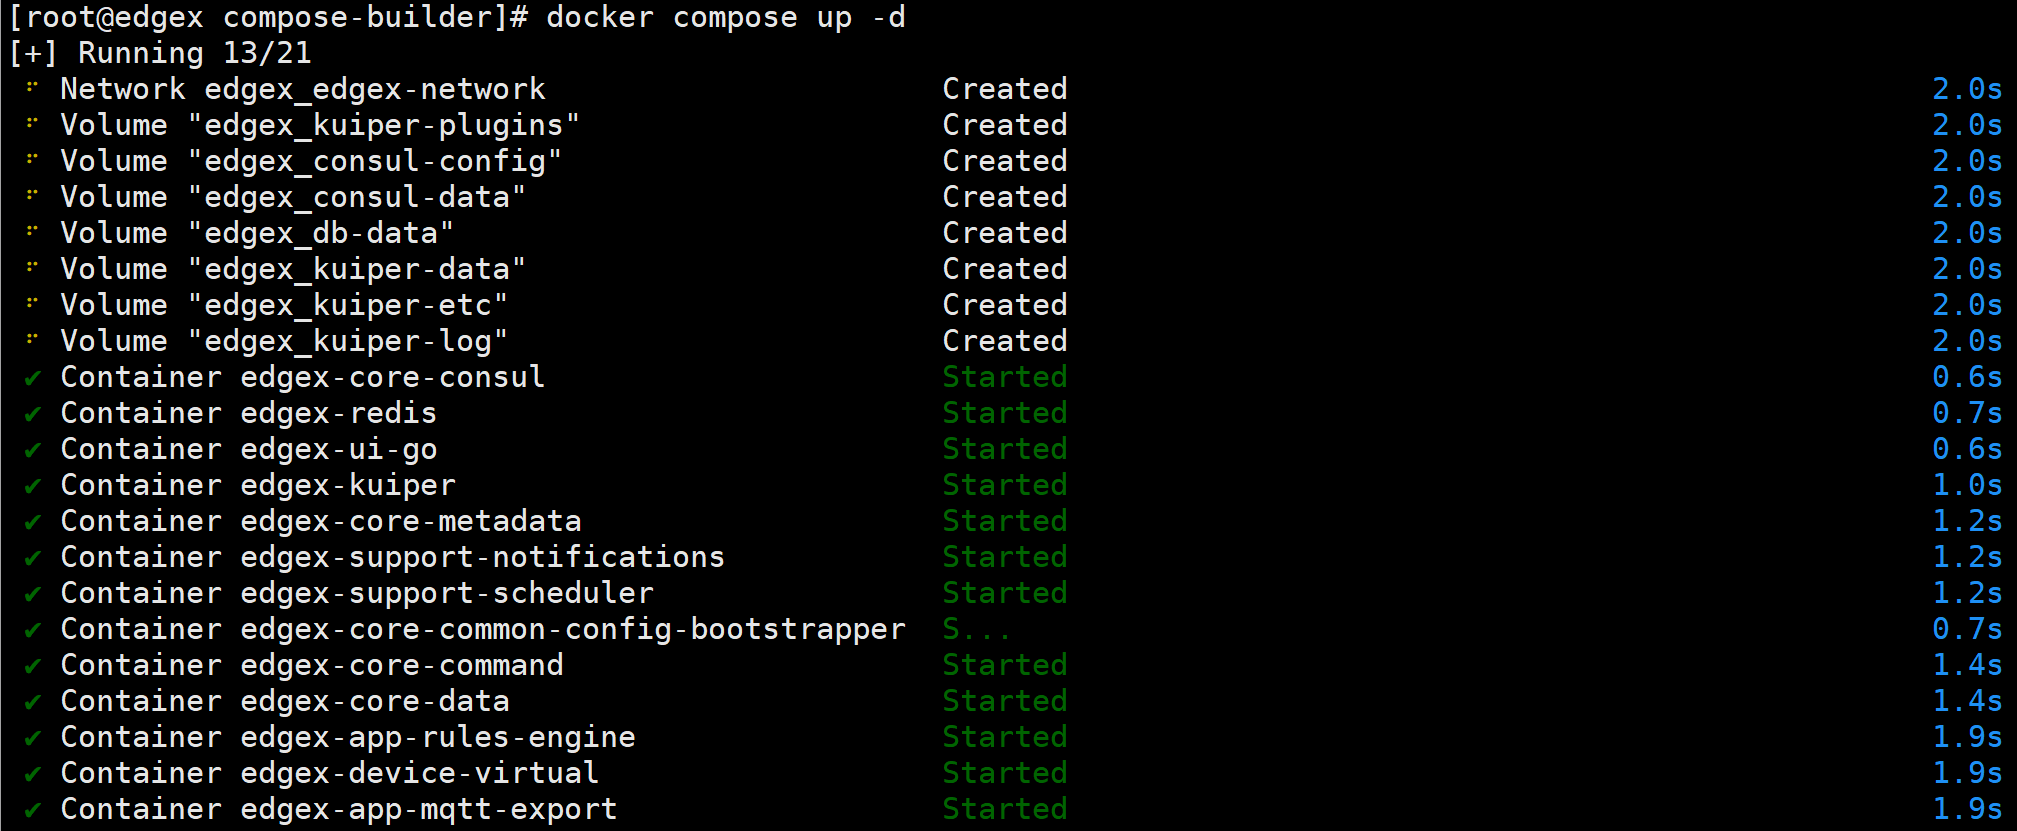
$ docker compose up -d


# 修改配置文件
替换IP地址 127.0.0.1 为 0.0.0.0


# 修改 mqtt-broker
WRITABLE_PIPELINE_FUNCTIONS_MQTTEXPORT_PARAMETERS_BROKERADDRESS: tcp://192.168.202.233:1884
1
2
3
# docker compose pull

# docker compose up -d
4.访问 UI
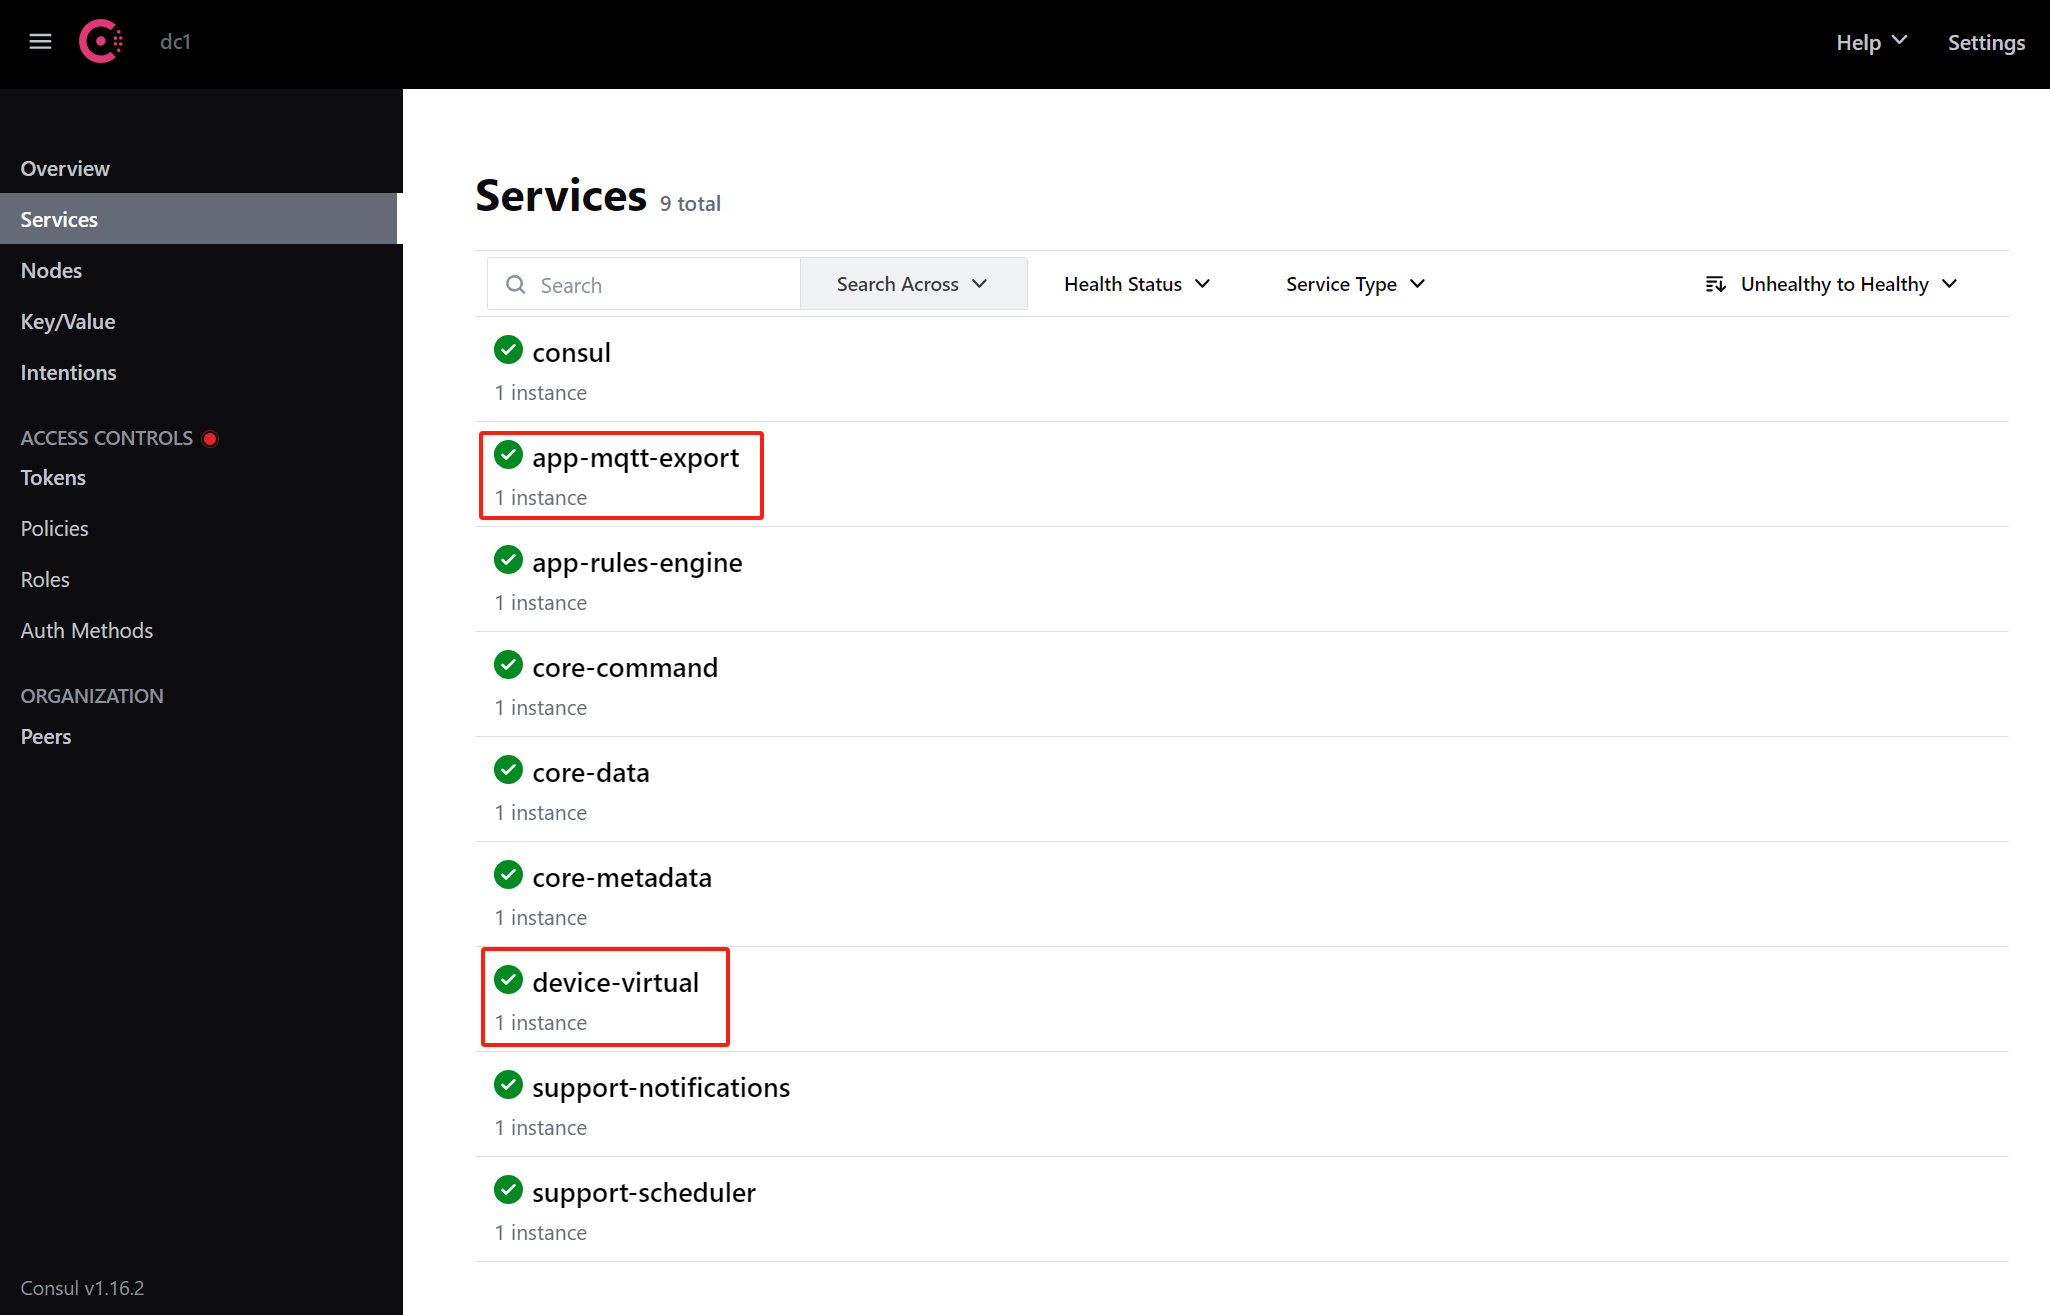
4.1. consul
1
2
# 访问地址
http://192.168.202.233:8500
4.2. EdgeX Console
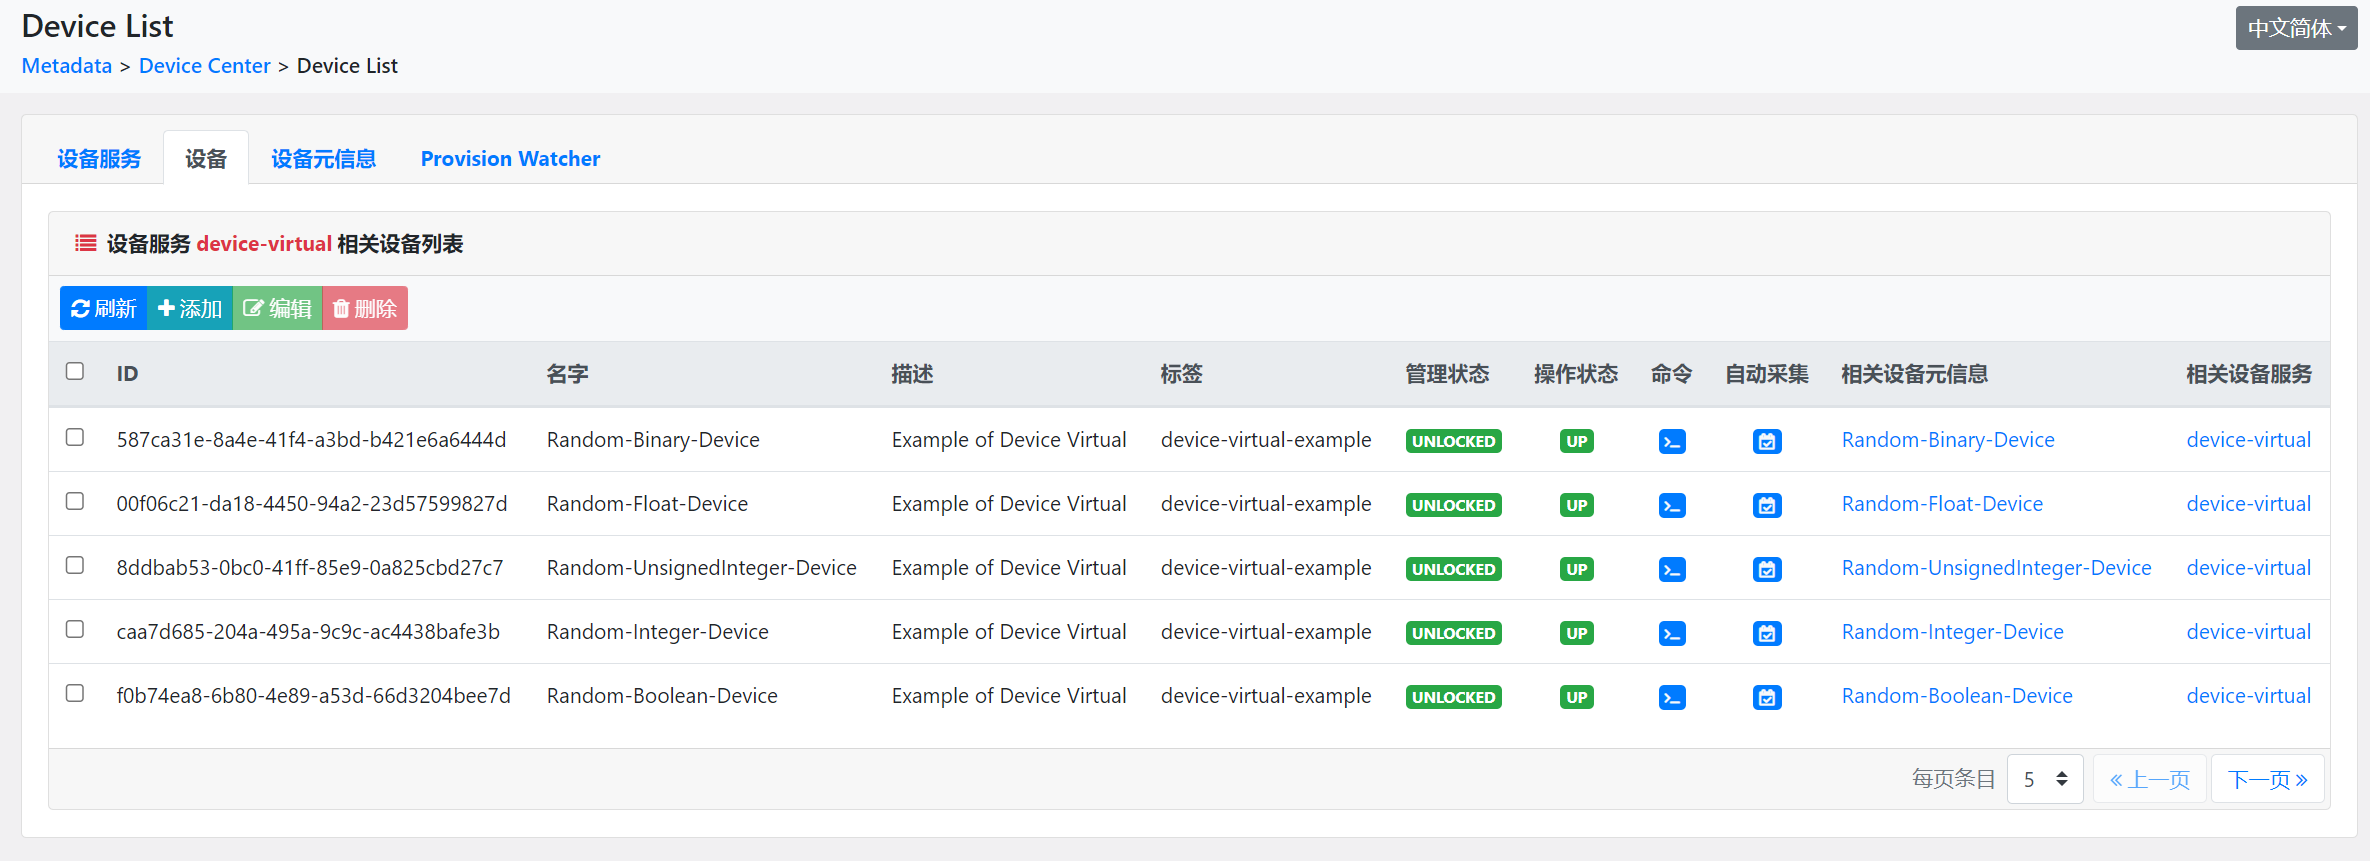
1
2
# 访问地址
http://192.168.202.233:4000/


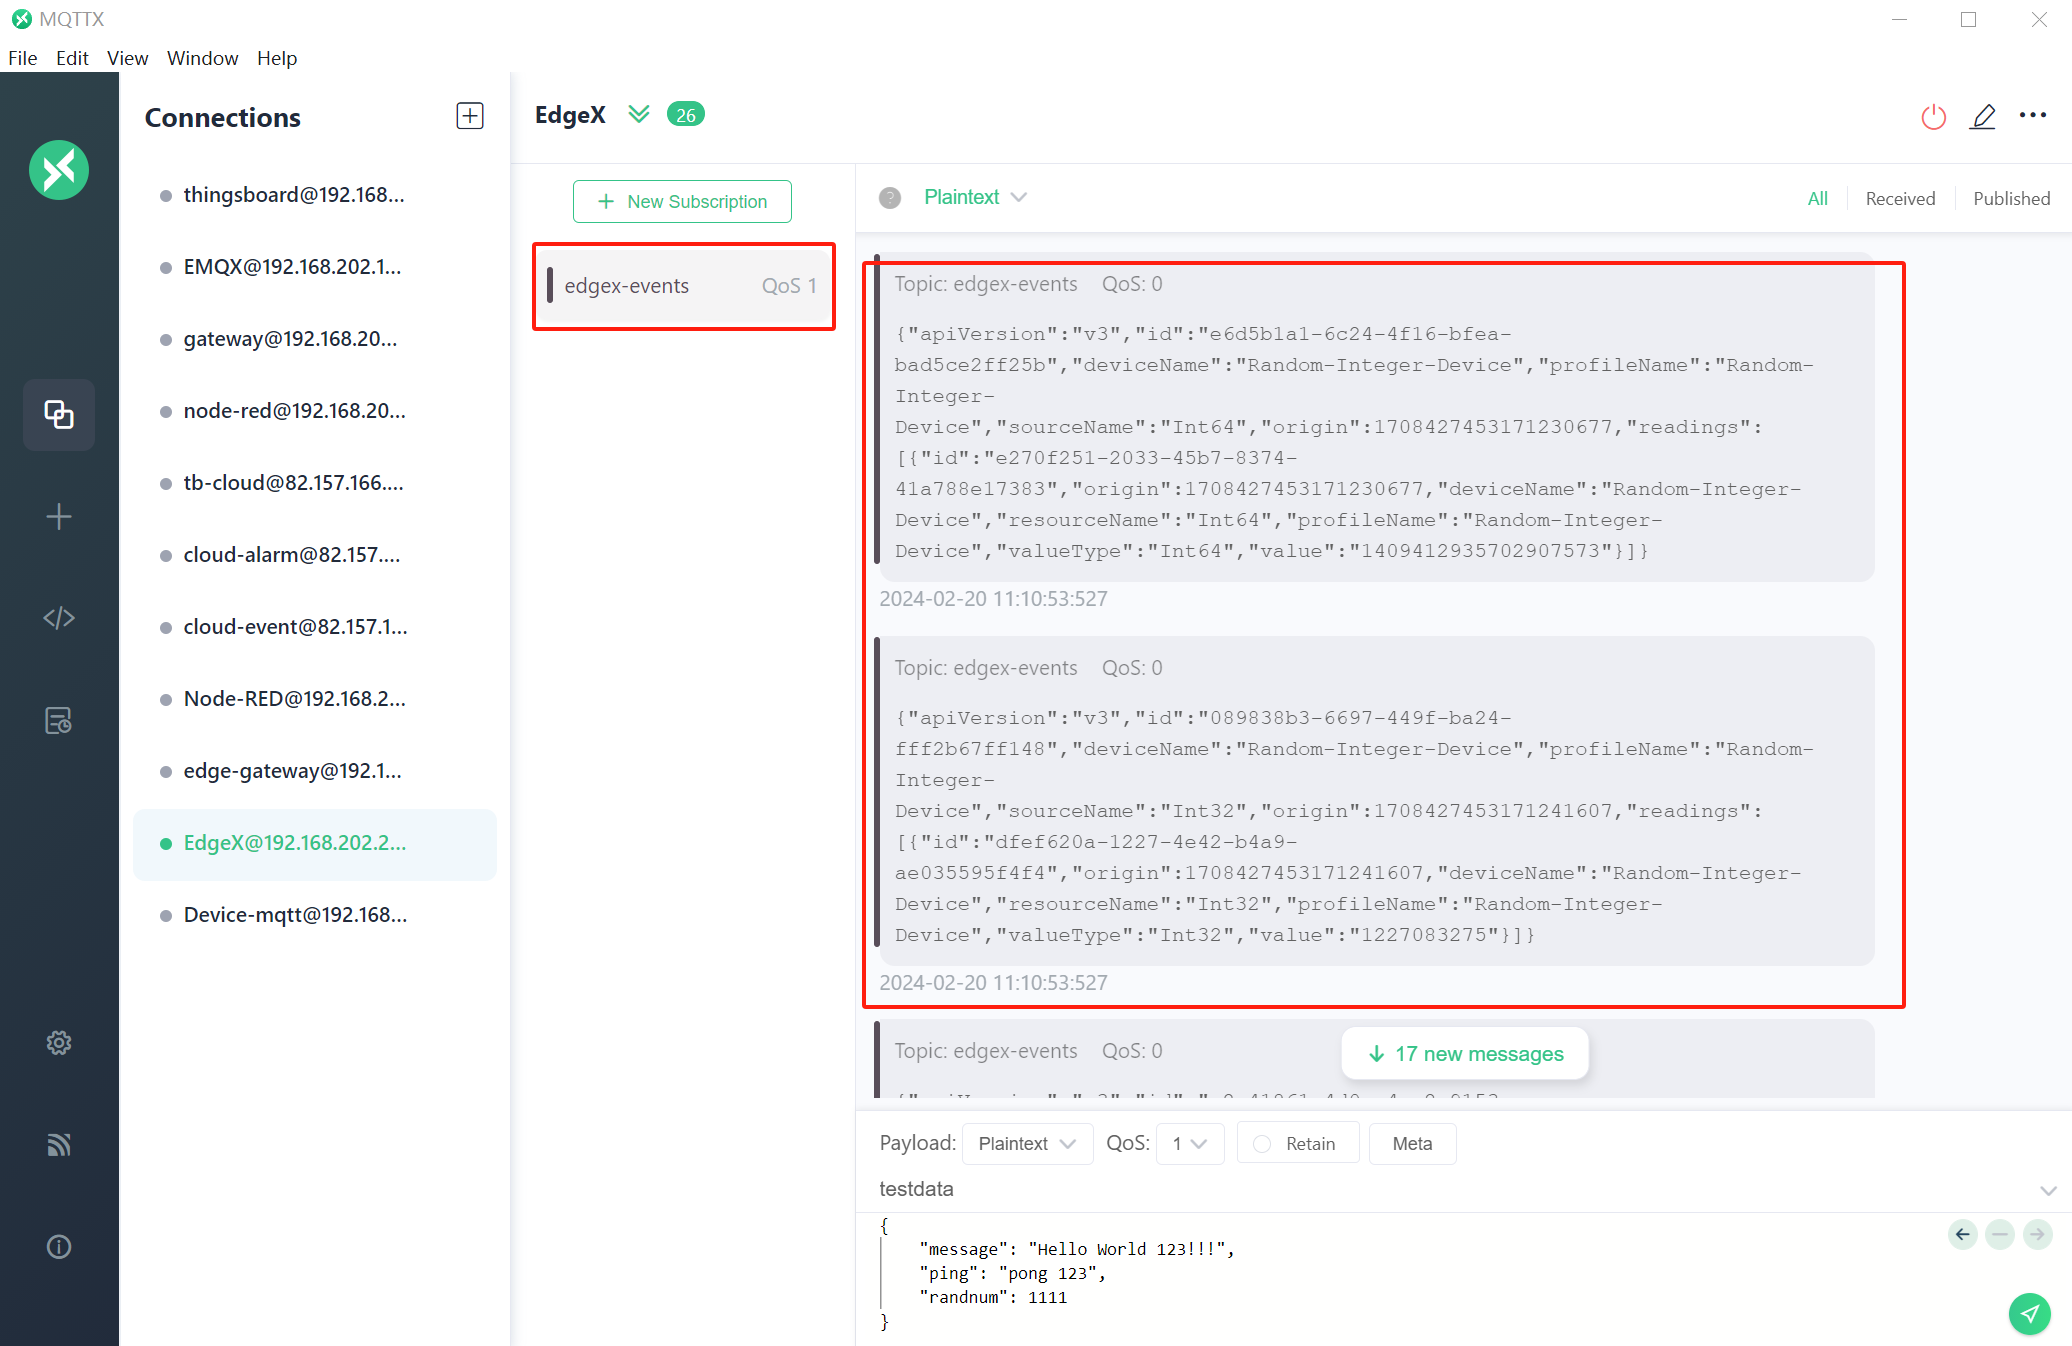
5.测试
1
2
3
4
5
6
7
8
9
10
11
12
13
14
15
16
17
18
19
20
21
22
23
24
25
26
27
28
29
30
31
32
33
34
35
36
37
38
{
	"apiVersion": "v3",
	"id": "e6d5b1a1-6c24-4f16-bfea-bad5ce2ff25b",
	"deviceName": "Random-Integer-Device",
	"profileName": "Random-Integer-Device",
	"sourceName": "Int64",
	"origin": 1708427453171230677,
	"readings": [{
		"id": "e270f251-2033-45b7-8374-41a788e17383",
		"origin": 1708427453171230677,
		"deviceName": "Random-Integer-Device",
		"resourceName": "Int64",
		"profileName": "Random-Integer-Device",
		"valueType": "Int64",
		"value": "1409412935702907573"
	}]
}


{
	"apiVersion": "v3",
	"id": "089838b3-6697-449f-ba24-fff2b67ff148",
	"deviceName": "Random-Integer-Device",
	"profileName": "Random-Integer-Device",
	"sourceName": "Int32",
	"origin": 1708427453171241607,
	"readings": [{
		"id": "dfef620a-1227-4e42-b4a9-ae035595f4f4",
		"origin": 1708427453171241607,
		"deviceName": "Random-Integer-Device",
		"resourceName": "Int32",
		"profileName": "Random-Integer-Device",
		"valueType": "Int32",
		"value": "1227083275"
	}]
}

......

