一、安装准备
1.官方文档
1
2
3
4
5
6
7
8
9
10
11
# edgexfoundry/edgex-compose
https://github.com/edgexfoundry/edgex-compose

# Edgex Docker Compose Builder
https://github.com/edgexfoundry/edgex-compose/tree/main/compose-builder

# Secure Consul
https://docs.edgexfoundry.org/3.1/security/Ch-Secure-Consul/

# Authenticating to EdgeX Microservices
https://docs.edgexfoundry.org/3.1/security/Ch-Authenticating/#how-to-make-authenticated-edgex-calls
2. 克隆服务器
1
2
3
4
5
6
7
8
9
10
11
12
13
# 克隆机器

# 修改IP地址
cd /etc/sysconfig/network-scripts
vim ifcfg-ens33
192.168.202.233

# 关闭防火墙
systemctl stop firewalld
systemctl disable firewalld

# 设置主机名
hostnamectl set-hostname edgex
3.安装 Docker
安装版本19.03.*
1
2
3
4
5
6
7
$ wget https://mirrors.aliyun.com/docker-ce/linux/centos/docker-ce.repo -O /etc/yum.repos.d/docker-ce.repo

$ yum -y install docker-ce

$ systemctl enable docker && systemctl start docker

$ docker --version
- 添加阿里云加速镜像
1
2
3
4
5
6
7
8
# 添加阿里云加速镜像

cat > /etc/docker/daemon.json << EOF
{
   "registry-mirrors": ["https://gcctk8ld.mirror.aliyuncs.com"],
   "exec-opts": ["native.cgroupdriver=cgroupfs"]
}
EOF
- 重启docker
1
2
#重启docker
systemctl restart docker
4.安装 docker-compose
安装 docker-compose
1
2
3
4
5
6
7
8
9
#下载源码
curl -L https://github.com/docker/compose/releases/download/1.25.0/docker-compose-Linux-x86_64 -o /usr/local/bin/docker-compose


#给docker-compose添加执行权限
sudo chmod +x /usr/local/bin/docker-compose

#查看docker-compose是否安装成功
docker-compose -version
docker-compose 基本操作
1
2
3
4
5
6
7
8
9
10
11
12
13
14
15
16
17
18
19
20
21
22
23
24
25
# 安装并启动EdgeX
sudo docker-compose up -d     # -d 后台运行容器

# 查看所有容器运行状况
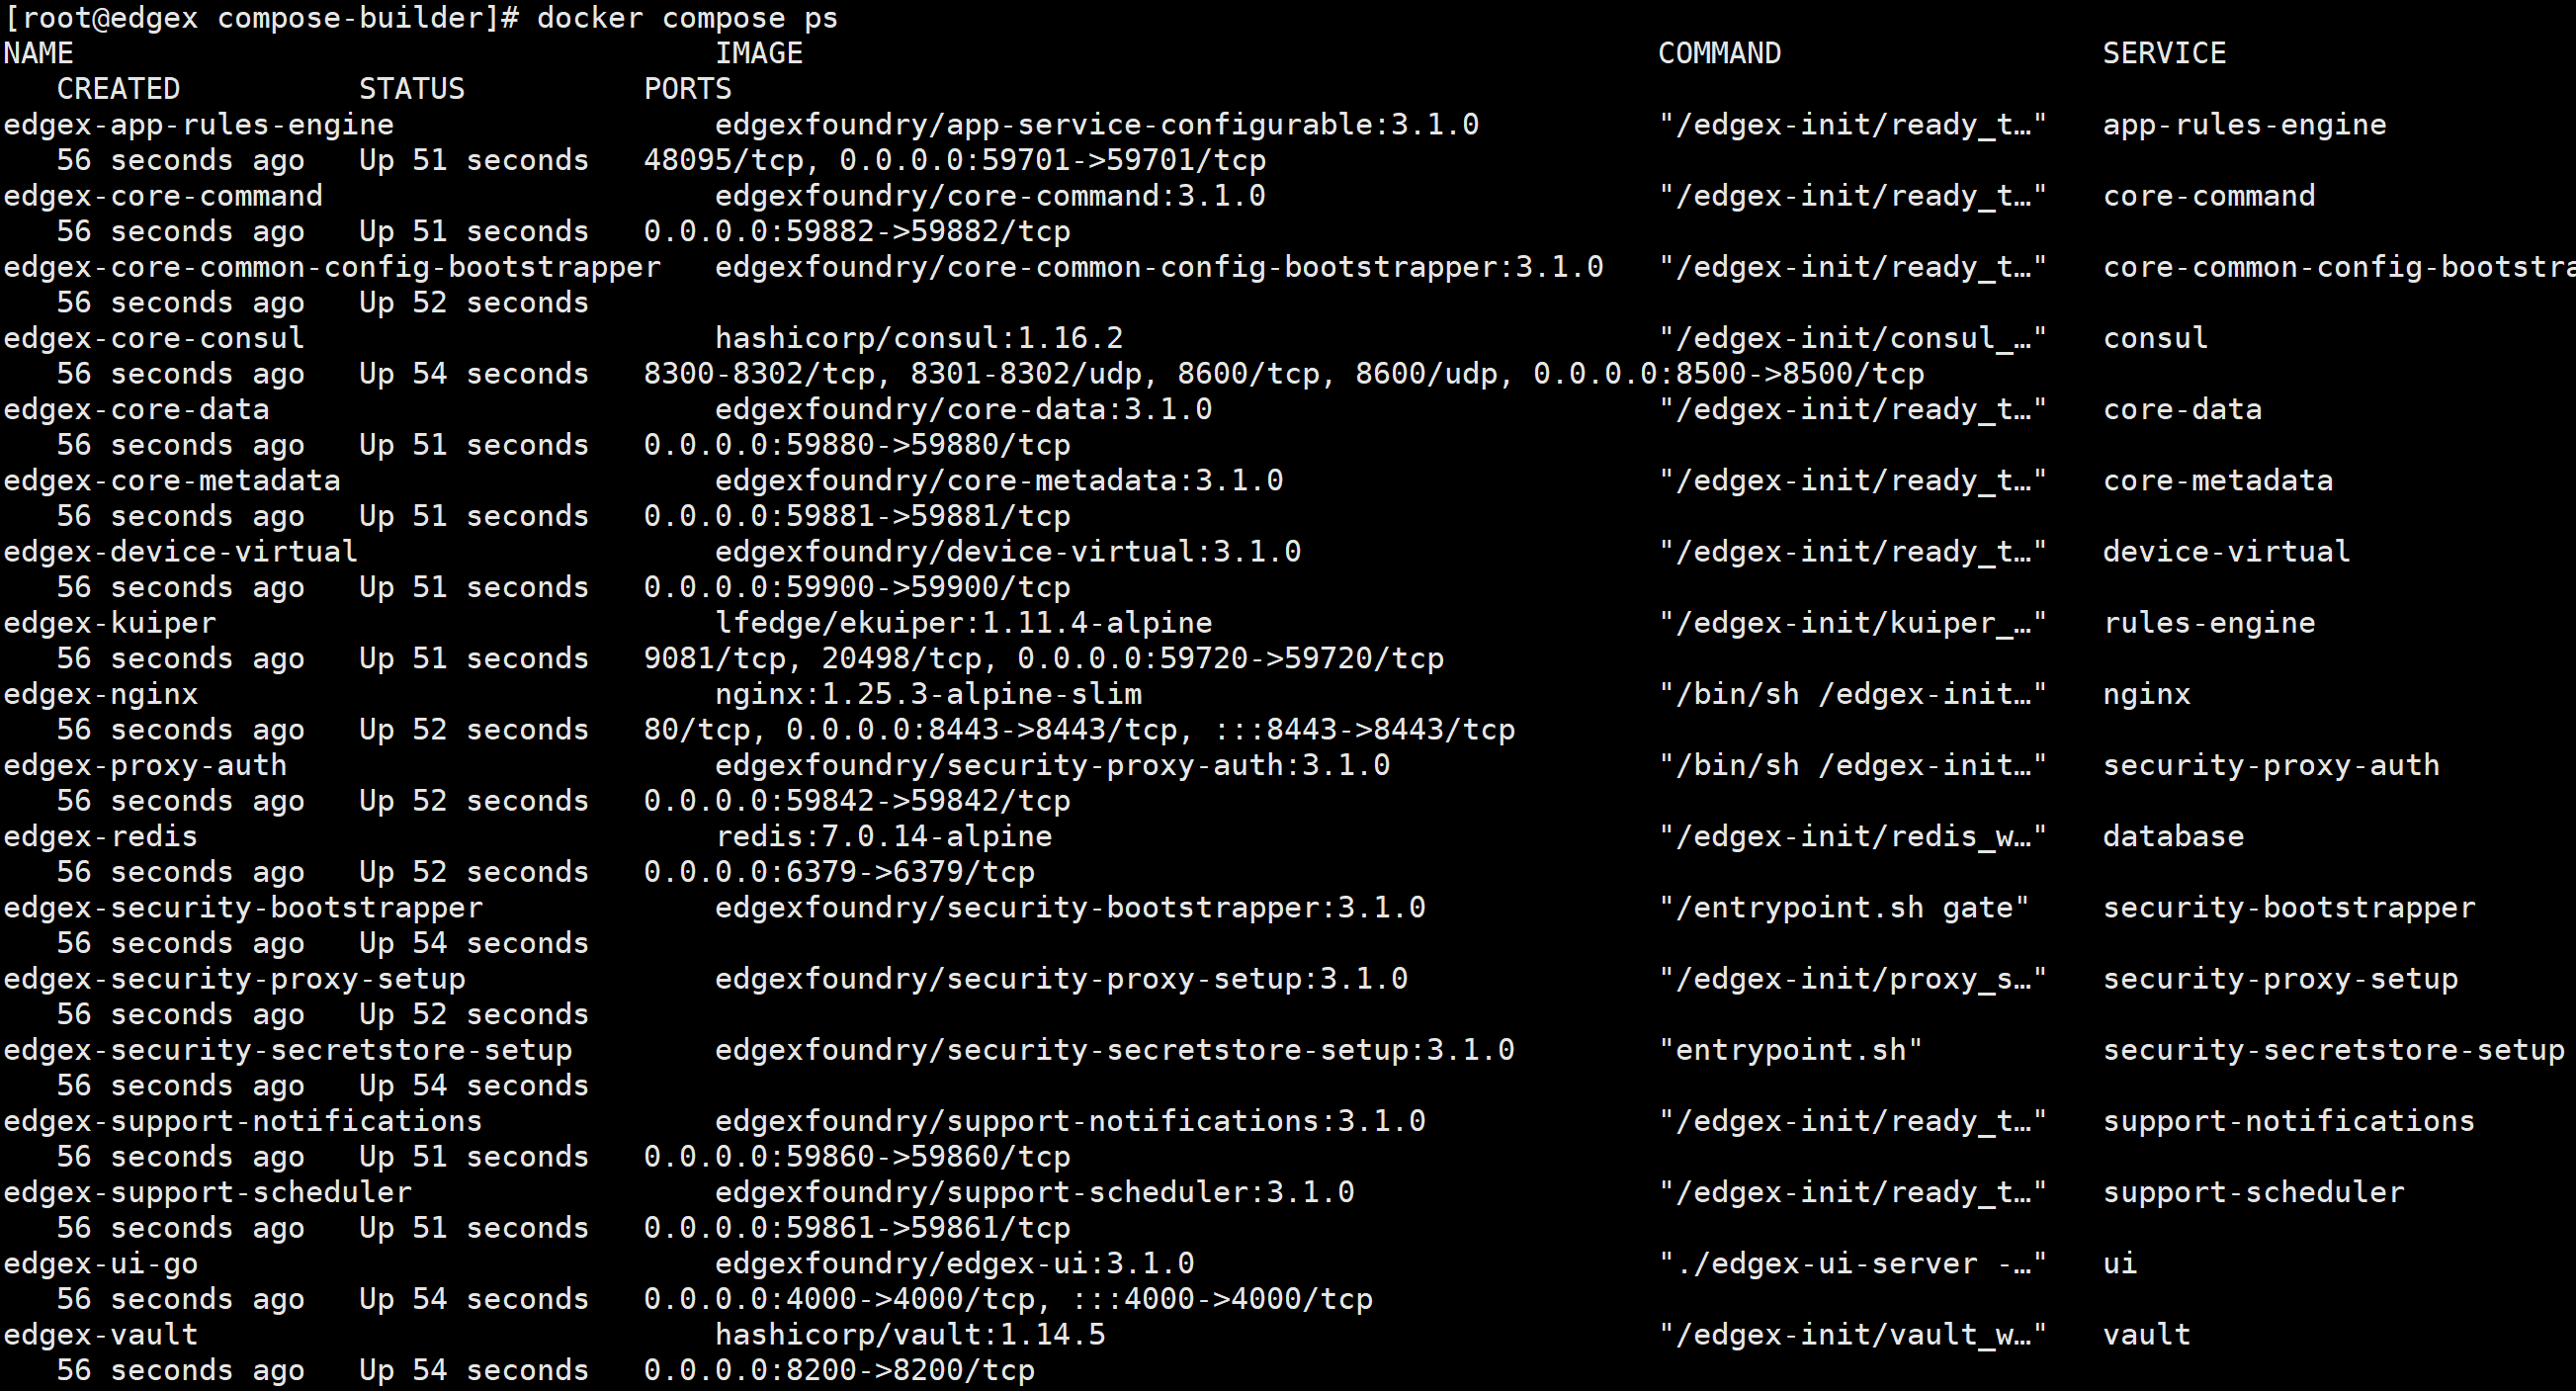
sudo docker-compose ps

# 显示容器日志
docker-compose logs -f [compose-contatainer-name]

# 停止容器
sudo docker-compose stop

# 启动容器
sudo docker-compose start

# 停止和删除所有容器
sudo docker-compose down


# 常用命令:
启动:docker-compose up -d 注意这里需要在yml配置文件路径执行,其他路径执行需要-f指定配置文件地址。
查看日志:docker-compose logs -f ${compose-contatainer-name}
停止:docker-compose stop
停止并删除容器:docker-compose down
其他命令帮助:docker-compose --help
二、安装部署
1.docker-comepse
1
2
3
4
5
6
7
8
9
10
11
12
13
14
15
# 1.克隆 edgex-compose
$ git clone git@github.com:edgexfoundry/edgex-compose.git
$ git clone https://github.com/edgexfoundry/edgex-compose.git
$ cd edgex-compose
$ git checkout v3.1


# 2.生成 docker-compose.yml 文件(注意这包括 mqtt-broker)
$ cd compose-builder
$ make gen ds-virtual


# 3.检查生成的文件
$ ls | grep 'docker-compose.yml'
docker-compose.yml
1
2
3
4
5
6
7
8
9
10
11
12
13
14
15
16
17
18
19
20
21
22
23
24
25
26
27
28
29
30
31
32
33
34
35
36
37
38
39
40
41
42
[root@edgex mqtt-device]# git clone https://github.com/edgexfoundry/edgex-compose.git
Cloning into 'edgex-compose'...
remote: Enumerating objects: 4779, done.
remote: Counting objects: 100% (2916/2916), done.
remote: Compressing objects: 100% (173/173), done.
remote: Total 4779 (delta 2831), reused 2804 (delta 2741), pack-reused 1863
Receiving objects: 100% (4779/4779), 1.22 MiB | 450.00 KiB/s, done.
Resolving deltas: 100% (4042/4042), done.


[root@edgex mqtt-device]# ll
total 4
drwxr-xr-x. 6 root root 4096 Feb  1 04:10 edgex-compose


[root@edgex mqtt-device]# cd edgex-compose/
[root@edgex edgex-compose]# git checkout v3.1
Note: checking out 'v3.1'.

You are in 'detached HEAD' state. You can look around, make experimental
changes and commit them, and you can discard any commits you make in this
state without impacting any branches by performing another checkout.

If you want to create a new branch to retain commits you create, you may
do so (now or later) by using -b with the checkout command again. Example:

  git checkout -b new_branch_name

HEAD is now at 488a3fe... Merge pull request #424 from lenny-intel/device-mqtt-secure-mode-napa


[root@edgex edgex-compose]# cd compose-builder/

[root@edgex compose-builder]# make gen ds-virtual
echo MQTT_VERBOSE=
MQTT_VERBOSE=
docker compose  -p edgex -f docker-compose-base.yml -f add-device-virtual.yml -f ./gen_ext_compose/add-device-virtual-secure.yml -f add-security.yml -f add-secure-redis-messagebus.yml convert > docker-compose.yml
rm -rf ./gen_ext_compose


[root@edgex compose-builder]# ls | grep 'docker-compose.yml'
docker-compose.yml
2.启动 EdgeX Foundry
使用以下命令部署 EdgeX:
1
2
3
4
5
6
7
$ cd edgex-compose/compose-builder
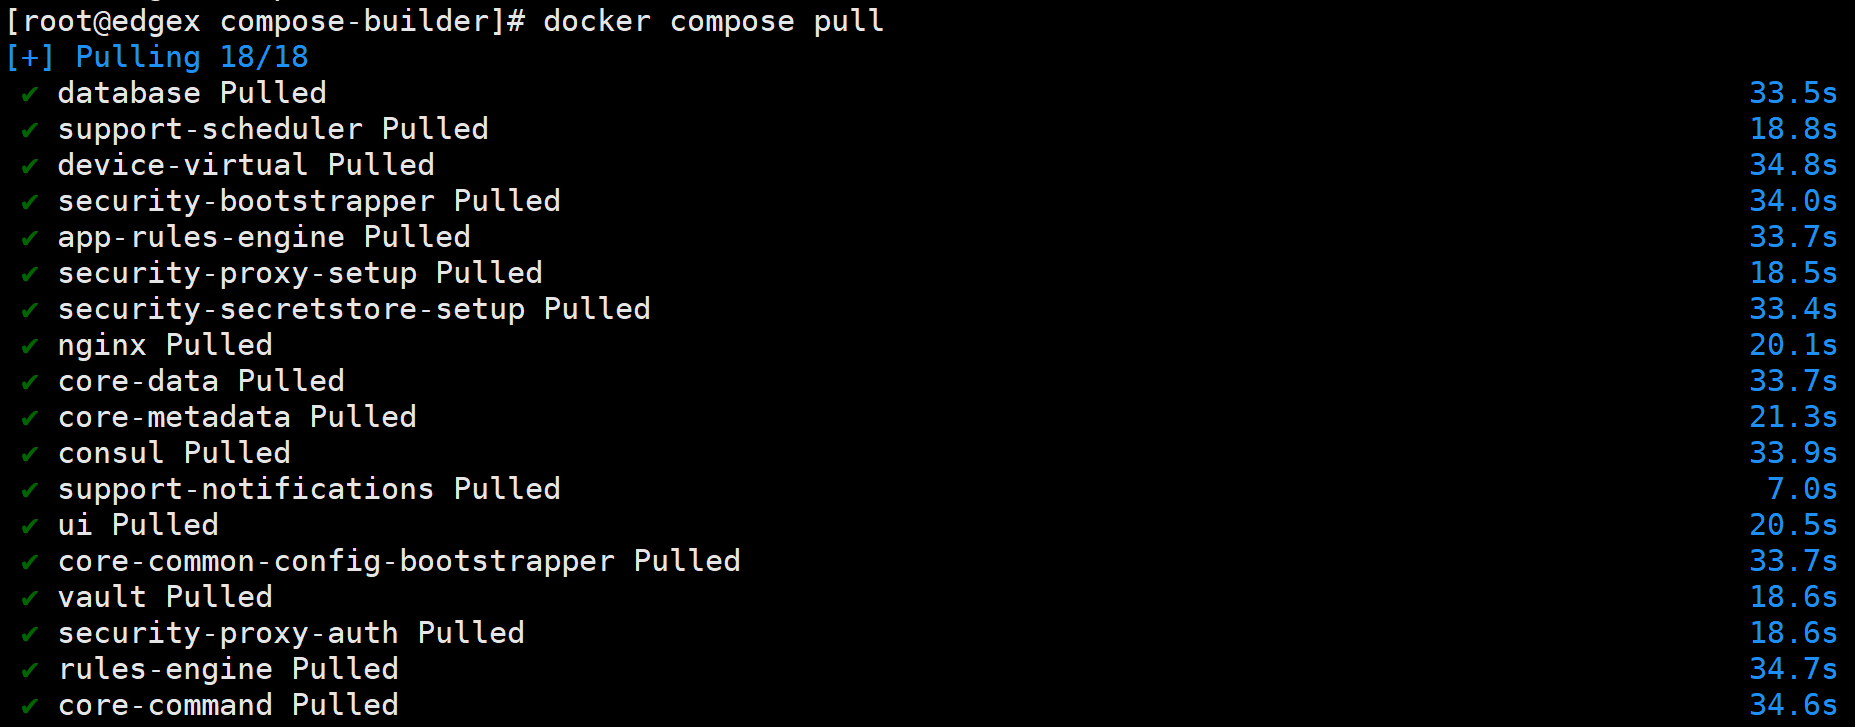
$ docker compose pull
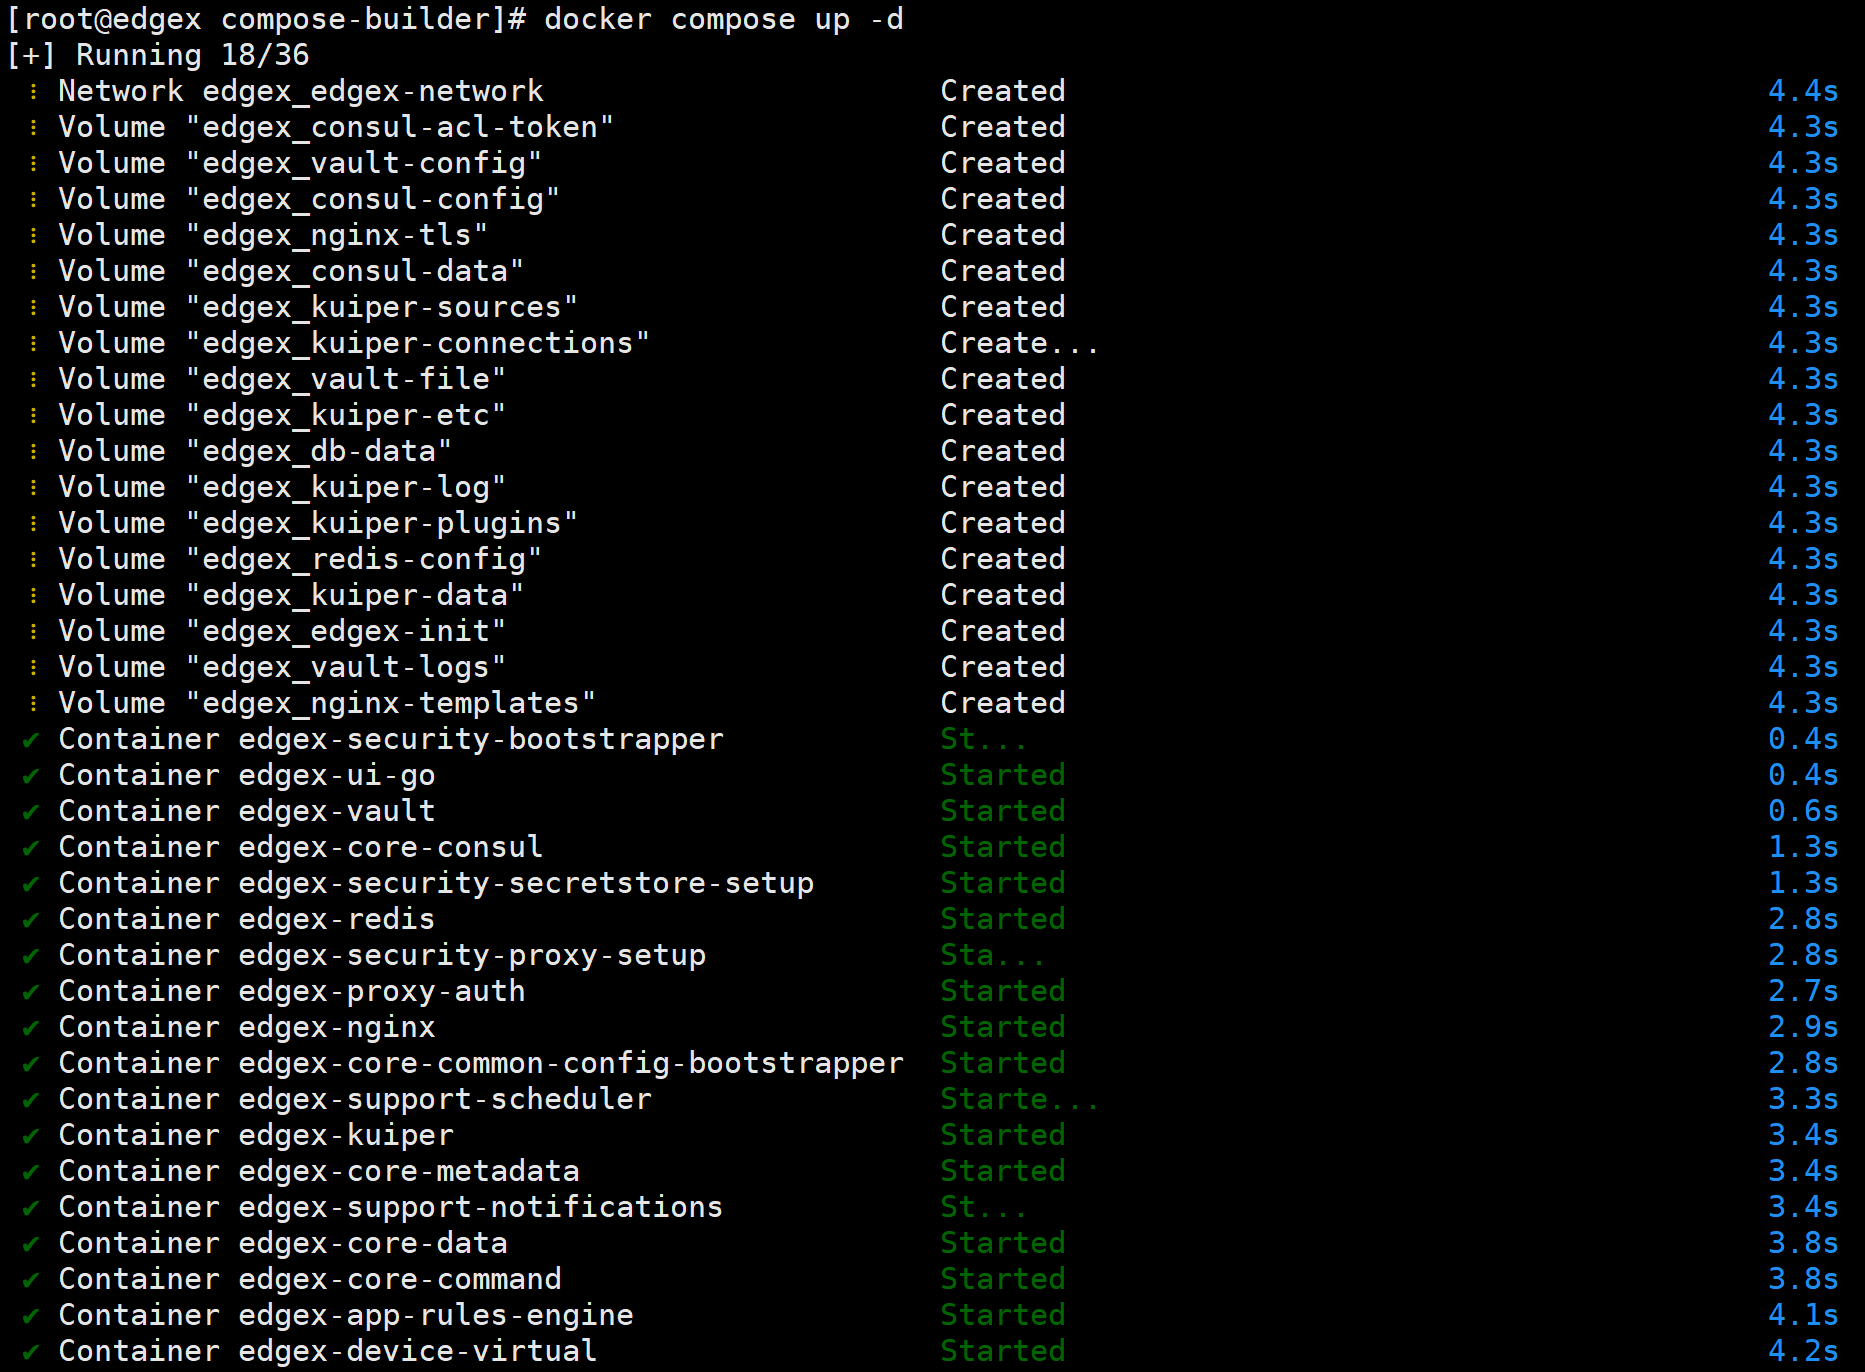
$ docker compose up -d


# 修改配置文件
替换IP地址 127.0.0.1 为 0.0.0.0
1
2
3
# docker compose pull

# docker compose up -d
3.访问 UI
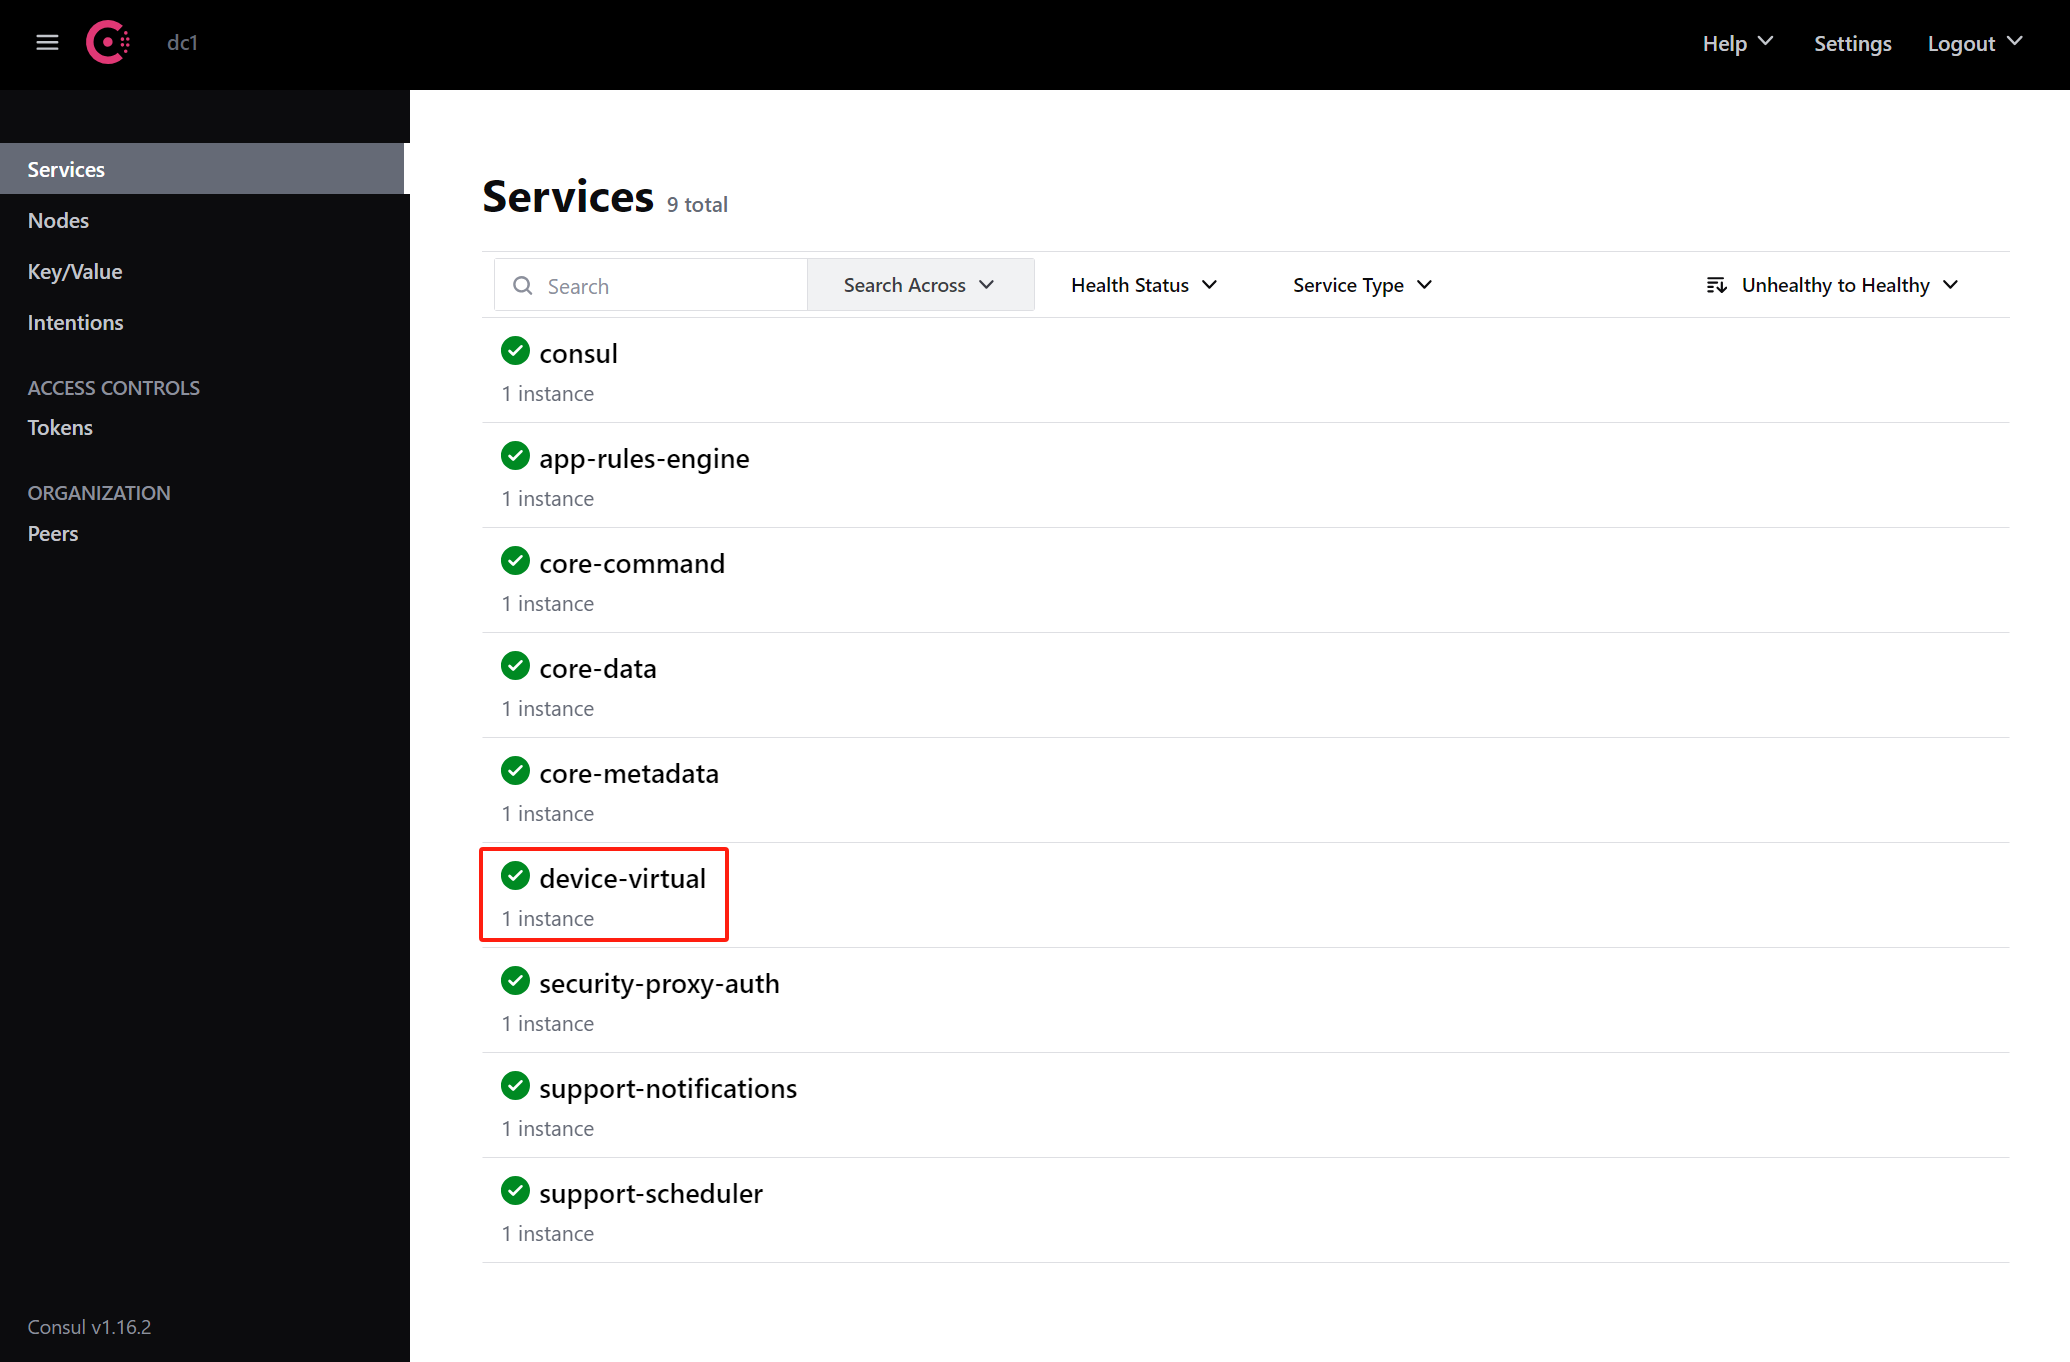
3.1. consul
1
2
3
4
5
6
7
8
9
# 访问地址
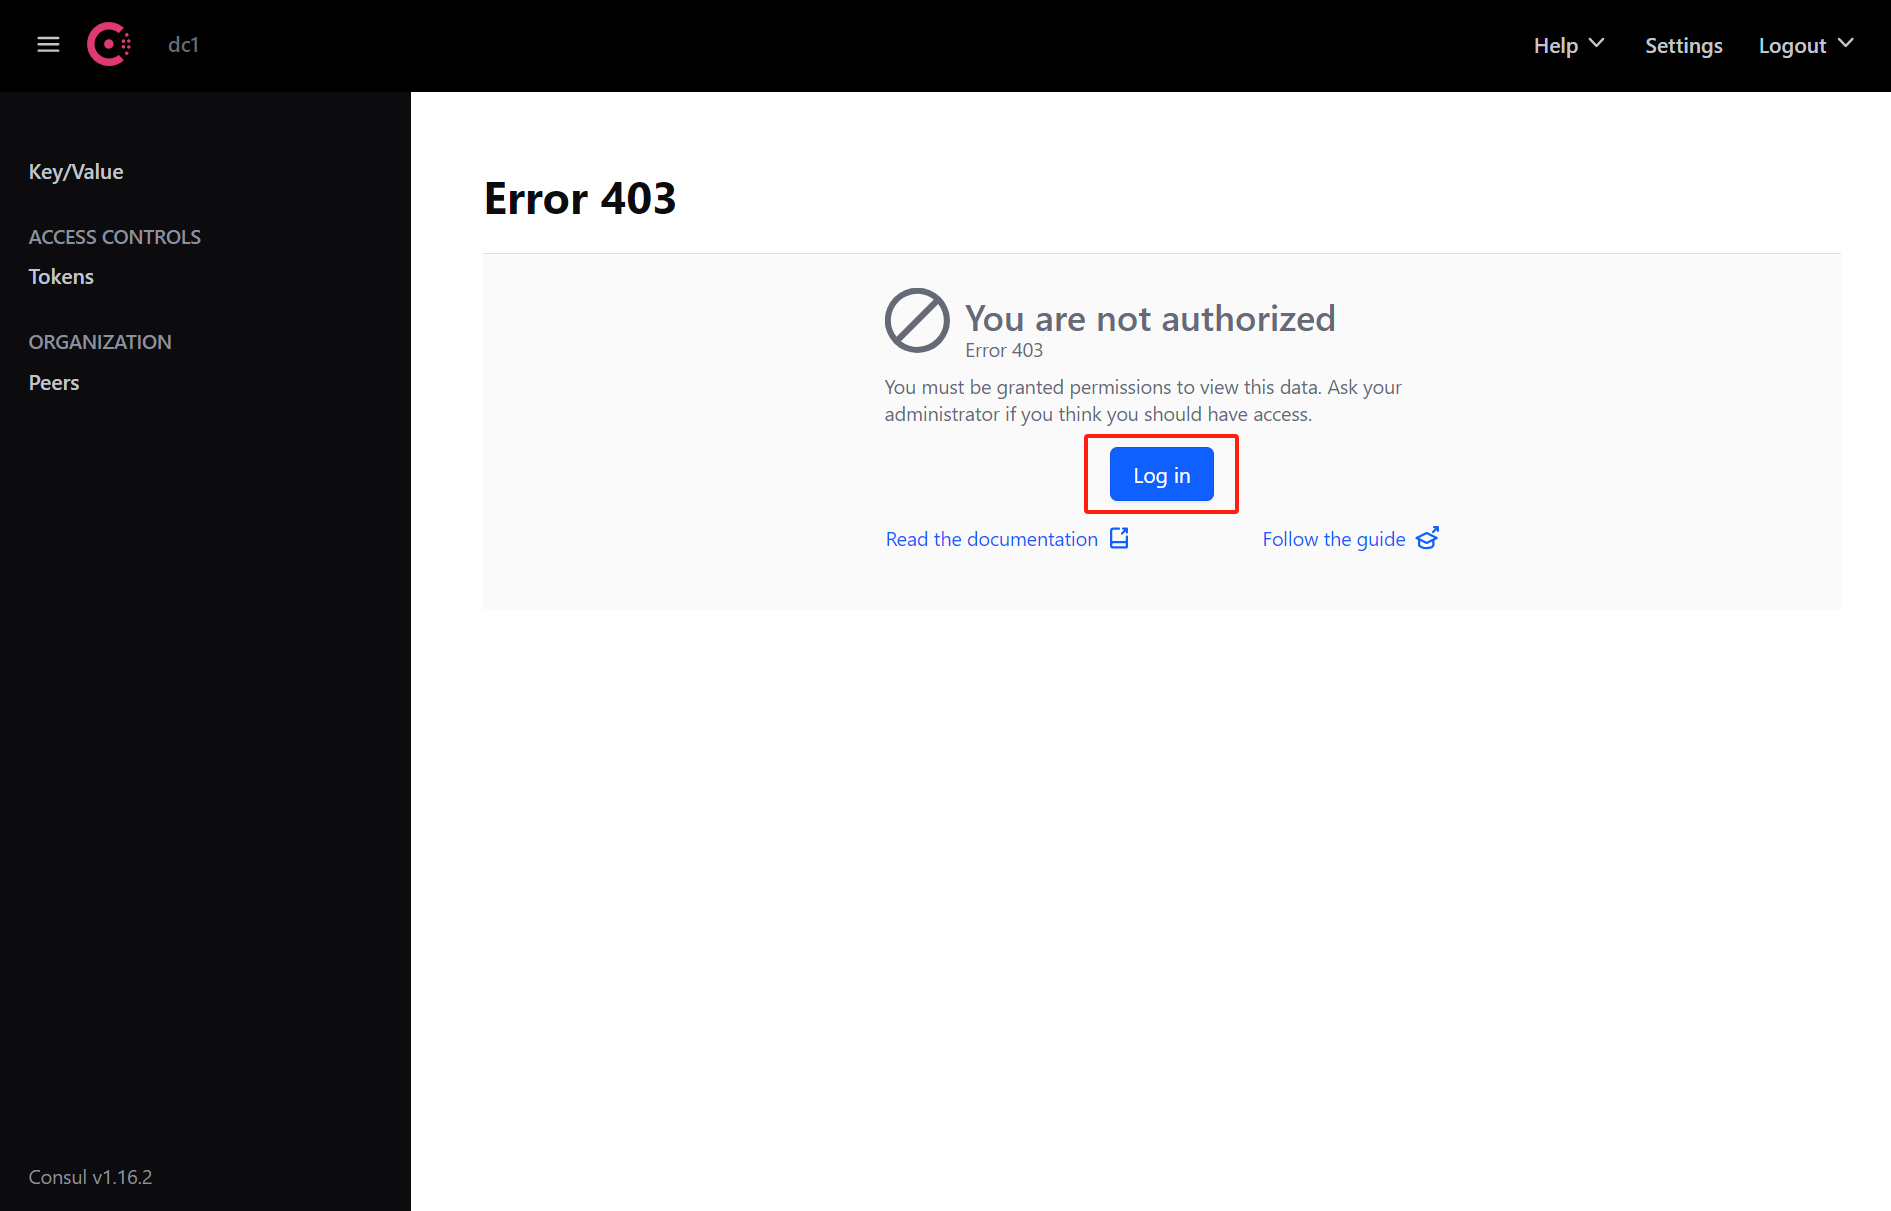
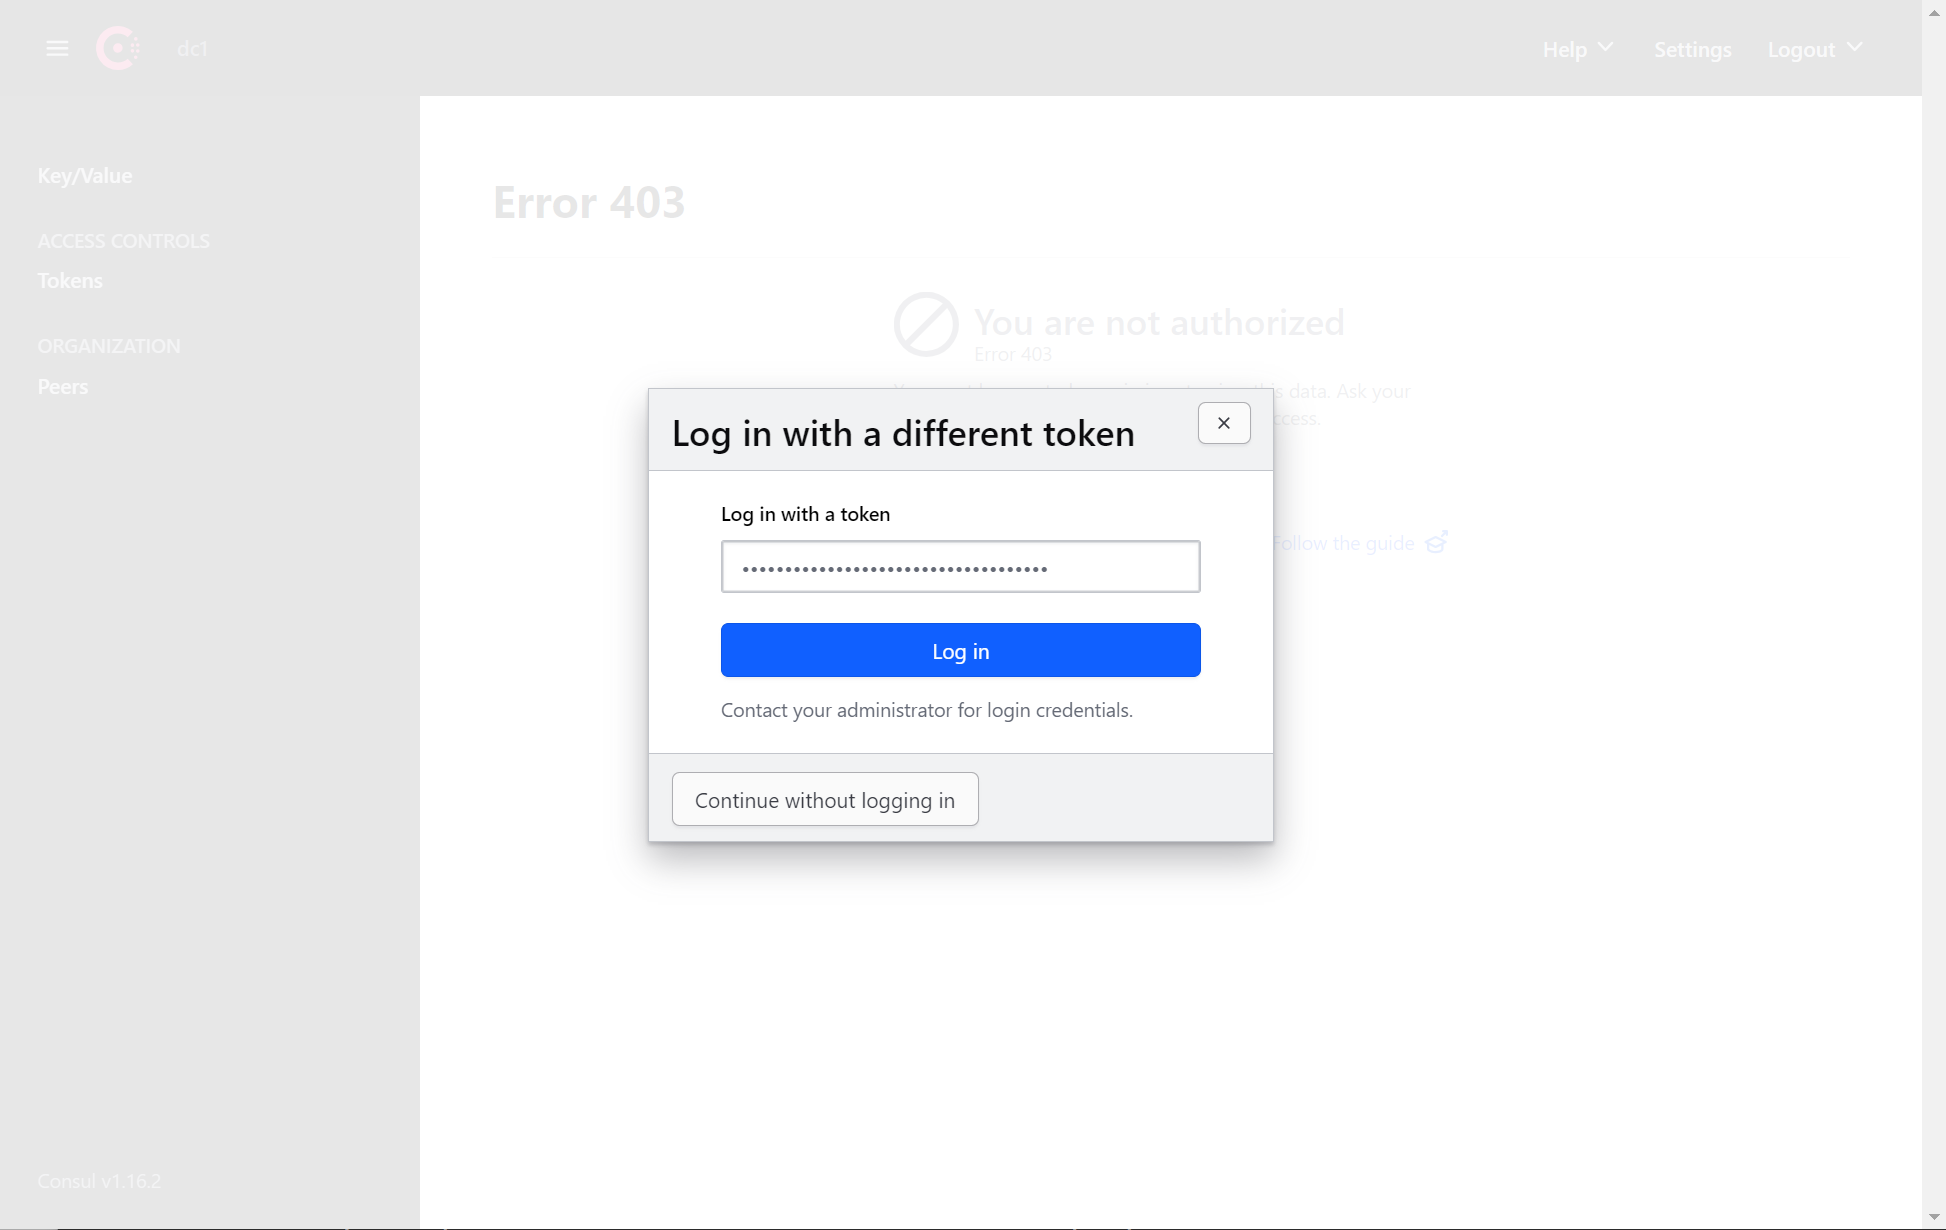
http://192.168.202.233:8500
509bd0ae-2fdc-110e-f404-23942a9d1143


# make get-consul-acl-token

[root@edgex compose-builder]# make get-consul-acl-token
509bd0ae-2fdc-110e-f404-23942a9d1143
3.2. EdgeX Console
1
2
3
4
5
6
7
8
9
10
11
# 访问地址
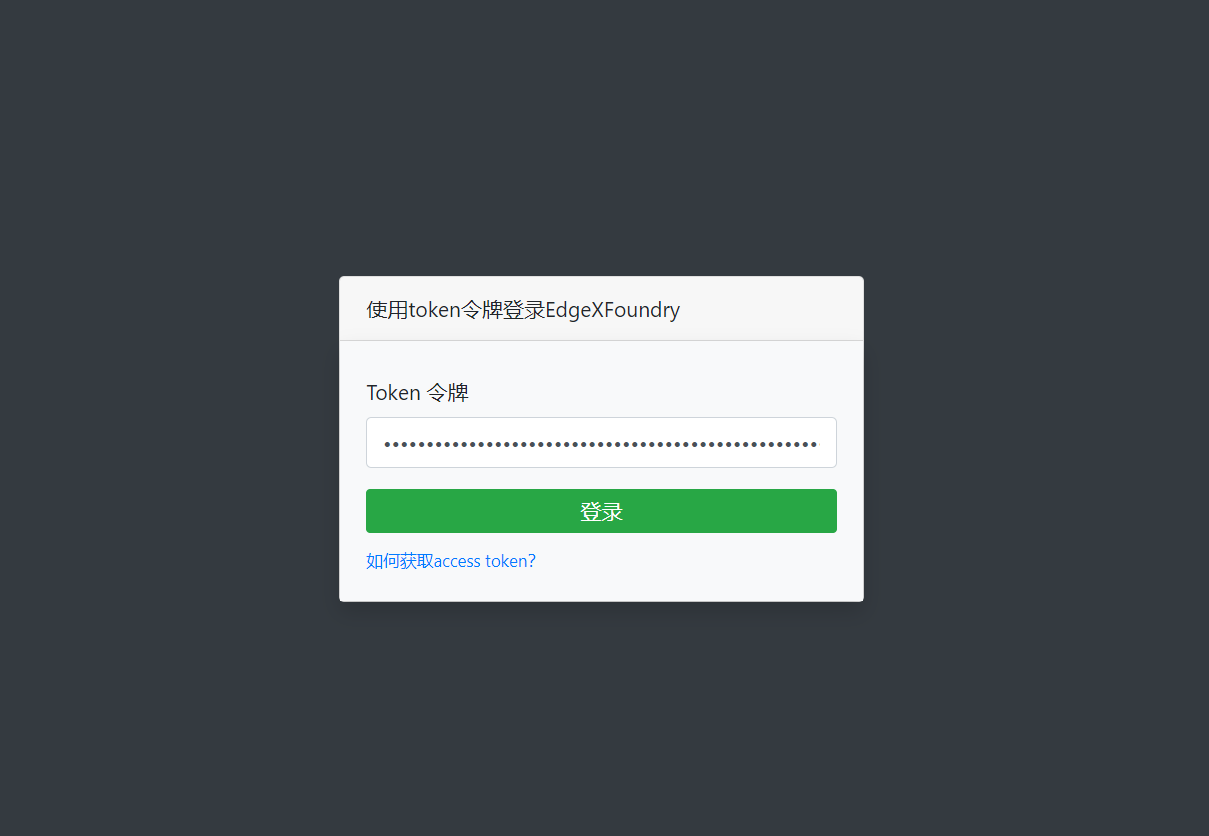
http://192.168.202.233:4000/

eyJhbGciOiJFUzM4NCIsImtpZCI6IjY0YTI4ZTk5LWY2YmMtZDQwYi00OWQ1LTZjMzIzM2UzMWJhYiJ9.eyJhdWQiOiJlZGdleCIsImV4cCI6MTcwODQ1MTkwNiwiaWF0IjoxNzA4NDQ4MzA2LCJpc3MiOiIvdjEvaWRlbnRpdHkvb2lkYyIsIm5hbWUiOiJlZGdleHVzZXIiLCJuYW1lc3BhY2UiOiJyb290Iiwic3ViIjoiZTJiZmM4MDMtMzQ5Mi1hYjBhLWE0OTUtMzNjMmY1MzEzYjU3In0.xERcFnGr42rImdzquED6NEIebw4ZV_67z_AMoLp7LmDCRaB8mF3fwSawpuhoSOyiSKmFKb_ZL9O7q3K0-y-xN4c8-Gcg4GgTwLi4lQ_A6jB0sUmuUkLITQUa__CGDHvX


# make get-token

[root@edgex compose-builder]# make get-token
eyJhbGciOiJFUzM4NCIsImtpZCI6IjY0YTI4ZTk5LWY2YmMtZDQwYi00OWQ1LTZjMzIzM2UzMWJhYiJ9.eyJhdWQiOiJlZGdleCIsImV4cCI6MTcwODQ1MTkwNiwiaWF0IjoxNzA4NDQ4MzA2LCJpc3MiOiIvdjEvaWRlbnRpdHkvb2lkYyIsIm5hbWUiOiJlZGdleHVzZXIiLCJuYW1lc3BhY2UiOiJyb290Iiwic3ViIjoiZTJiZmM4MDMtMzQ5Mi1hYjBhLWE0OTUtMzNjMmY1MzEzYjU3In0.xERcFnGr42rImdzquED6NEIebw4ZV_67z_AMoLp7LmDCRaB8mF3fwSawpuhoSOyiSKmFKb_ZL9O7q3K0-y-xN4c8-Gcg4GgTwLi4lQ_A6jB0sUmuUkLITQUa__CGDHvX
