一、概述
官网地址
1
2
3
4
5
6
# 官网地址


https://about.gitlab.com/
https://about.gitlab.com/install/
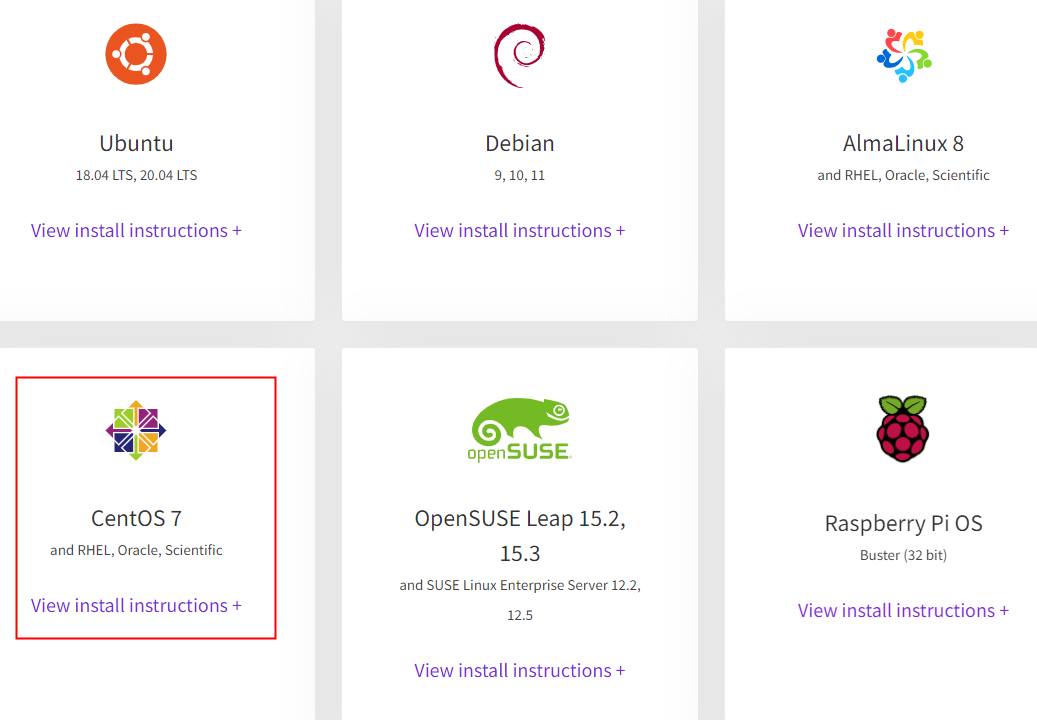
https://about.gitlab.com/install/#centos-7
安装部署
1
2
3
4
https://about.gitlab.com/install/#centos-7

# 安装版本
gitlab-ce-12.4.2-ce.0.el6.x86_64.rpm
安装步骤
1
2
3
4
5
6
7
8
9
10
11
12
13
14
15
16
17
18
19
20
21
22
23
24
25
26
27
28
29
30
31
32
33
34
35
36
37
38
# 1. 安装相关依赖
yum -y install policycoreutils openssh-server openssh-clients postfix

# 2. 启动ssh服务&设置为开机启动
systemctl enable sshd && sudo systemctl start sshd

# 3. 设置postfix开机自启,并启动,postfix支持gitlab发信功能
systemctl enable postfix && systemctl start postfix

# 4. 开放ssh以及http服务,然后重新加载防火墙列表
firewall-cmd --add-service=ssh --permanent
firewall-cmd --add-service=http --permanent
firewall-cmd --reload
# 如果关闭防火墙就不需要做以上配置

# 5. 下载gitlab包,并且安装
# 在线下载安装包:
wget https://mirrors.tuna.tsinghua.edu.cn/gitlab-ce/yum/el6/gitlab-ce-12.4.2-ce.0.el6.x
86_64.rpm

# 安装:
rpm -i gitlab-ce-12.4.2-ce.0.el6.x86_64.rpm

# 6. 修改gitlab配置
vi /etc/gitlab/gitlab.rb

#修改gitlab访问地址和端口,默认为80,我们改为82
external_url 'http://192.168.66.100:82'
nginx['listen_port'] = 82

# 7. 重载配置及启动gitlab
gitlab-ctl reconfigure
gitlab-ctl restart

# 8. 把端口添加到防火墙
firewall-cmd --zone=public --add-port=82/tcp --permanent
firewall-cmd --reload
# 启动成功后,看到以下修改管理员root密码的页面,修改密码后,然后登录即可
二、安装部署
1.安装环境
1
2
3
4
5
6
# 操作系统:CentOS 7.6
# GitLab版本:gitlab-ce-12.4.2-ce.0.el6.x86_64.rpm

# 内网IP:172.17.243.237
# 外网IP:182.92.210.65
# 端口:18080
2.环境准备
1
2
3
4
5
6
7
8
9
10
11
12
13
14
15
16
17
18
19
20
21
22
23
24
25
26
27
# 准备工作


# 1. 安装相关依赖
yum -y install policycoreutils openssh-server openssh-clients postfix


# 2. 启动ssh服务&设置为开机启动
systemctl enable sshd && sudo systemctl start sshd


# 3. 设置postfix开机自启,并启动,postfix支持gitlab发信功能
systemctl enable postfix && systemctl start postfix


# 4. 开放ssh以及http服务,然后重新加载防火墙列表
firewall-cmd --add-service=ssh --permanent
firewall-cmd --add-service=http --permanent
firewall-cmd --reload
# 如果关闭防火墙就不需要做以上配置

# 防火墙已关闭
[root@hollysys ~]# systemctl status firewalld
● firewalld.service - firewalld - dynamic firewall daemon
   Loaded: loaded (/usr/lib/systemd/system/firewalld.service; disabled; vendor preset: enabled)
   Active: inactive (dead)
     Docs: man:firewalld(1)
遇到的问题:
1
2
3
4
5
6
7
8
9
10
11
12
13
14
15
16
17
18
19
20
21
22
23
24
25
26
27
28
29
30
31
32
33
34
35
36
37
38
39
40
41
42
43
44
45
46
47
48
49
50
51
52
53
54
55
56
# 3. 设置postfix开机自启,并启动,postfix支持gitlab发信功能
systemctl enable postfix && systemctl start postfix


# 问题
[root@hollysys ~]# systemctl enable postfix && systemctl start postfix
Job for postfix.service failed because the control process exited with error code. See "systemctl status postfix.service" and "journalctl -xe" for details.
[root@hollysys ~]# systemctl status postfix
● postfix.service - Postfix Mail Transport Agent
   Loaded: loaded (/usr/lib/systemd/system/postfix.service; enabled; vendor preset: disabled)
   Active: failed (Result: exit-code) since Thu 2022-01-06 15:36:21 CST; 13s ago
  Process: 13071 ExecStart=/usr/sbin/postfix start (code=exited, status=1/FAILURE)
  Process: 13069 ExecStartPre=/usr/libexec/postfix/chroot-update (code=exited, status=0/SUCCESS)
  Process: 13065 ExecStartPre=/usr/libexec/postfix/aliasesdb (code=exited, status=75)

Jan 06 15:36:19 hollysys systemd[1]: Starting Postfix Mail Transport Agent...
Jan 06 15:36:19 hollysys aliasesdb[13065]: /usr/sbin/postconf: fatal: parameter inet_interfaces: no local interface found for ::1
Jan 06 15:36:20 hollysys aliasesdb[13065]: newaliases: fatal: parameter inet_interfaces: no local interface found for ::1
Jan 06 15:36:20 hollysys postfix[13071]: fatal: parameter inet_interfaces: no local interface found for ::1
Jan 06 15:36:21 hollysys systemd[1]: postfix.service: control process exited, code=exited status=1
Jan 06 15:36:21 hollysys systemd[1]: Failed to start Postfix Mail Transport Agent.
Jan 06 15:36:21 hollysys systemd[1]: Unit postfix.service entered failed state.
Jan 06 15:36:21 hollysys systemd[1]: postfix.service failed.


# 解决办法
# 编辑/etc/postfix/main.cf文件 inet_interfaces = localhost  修改为 inet_interfaces = all
vim  /etc/postfix/main.cf
inet_interfaces = all

#再次启动即可。
systemctl start postfix


# 操作
[root@hollysys ~]# vim /etc/postfix/main.cf
[root@hollysys ~]# systemctl start postfix
[root@hollysys ~]# systemctl status postfix
● postfix.service - Postfix Mail Transport Agent
   Loaded: loaded (/usr/lib/systemd/system/postfix.service; enabled; vendor preset: disabled)
   Active: active (running) since Thu 2022-01-06 15:40:19 CST; 4s ago
  Process: 13095 ExecStart=/usr/sbin/postfix start (code=exited, status=0/SUCCESS)
  Process: 13091 ExecStartPre=/usr/libexec/postfix/chroot-update (code=exited, status=0/SUCCESS)
  Process: 13088 ExecStartPre=/usr/libexec/postfix/aliasesdb (code=exited, status=0/SUCCESS)
 Main PID: 13167 (master)
    Tasks: 3
   Memory: 3.7M
   CGroup: /system.slice/postfix.service
           ├─13167 /usr/libexec/postfix/master -w
           ├─13168 pickup -l -t unix -u
           └─13169 qmgr -l -t unix -u

Jan 06 15:40:19 hollysys systemd[1]: Starting Postfix Mail Transport Agent...
Jan 06 15:40:19 hollysys postfix/postfix-script[13165]: starting the Postfix mail system
Jan 06 15:40:19 hollysys postfix/master[13167]: daemon started -- version 2.10.1, configuration /etc/postfix
Jan 06 15:40:19 hollysys systemd[1]: Started Postfix Mail Transport Agent.
3.安装GitLab
1
2
3
4
5
6
7
8
9
10
11
12
13
14
15
16
17
18
19
20
21
22
23
24
25
26
27
28
29
30
31
32
33
34
35
36
37
38
39
40
41
42
43
# 5. 下载gitlab包,并且安装
# 在线下载安装包:
wget https://mirrors.tuna.tsinghua.edu.cn/gitlab-ce/yum/el6/gitlab-ce-12.4.2-ce.0.el6.x86_64.rpm

# 安装:
rpm -i gitlab-ce-12.4.2-ce.0.el6.x86_64.rpm


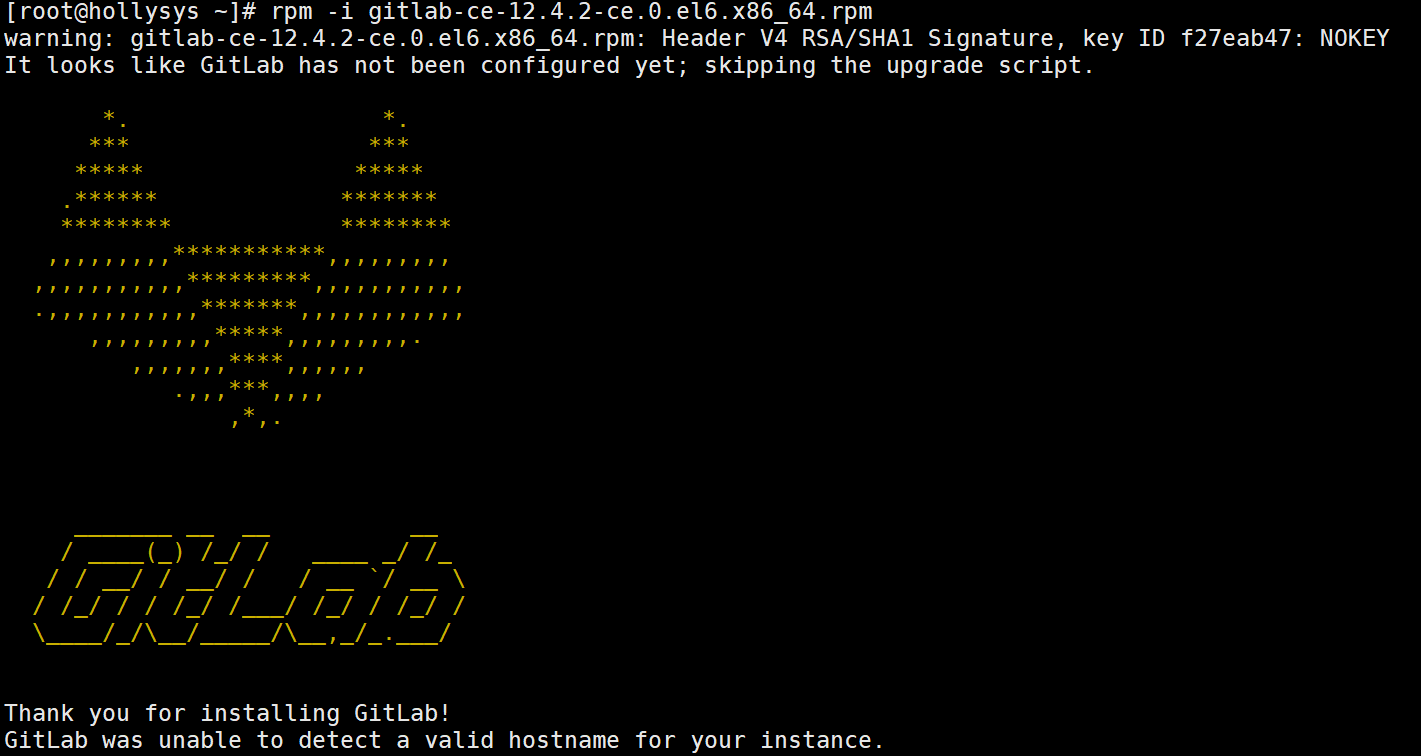
[root@hollysys ~]# rpm -i gitlab-ce-12.4.2-ce.0.el6.x86_64.rpm
warning: gitlab-ce-12.4.2-ce.0.el6.x86_64.rpm: Header V4 RSA/SHA1 Signature, key ID f27eab47: NOKEY
It looks like GitLab has not been configured yet; skipping the upgrade script.

       *.                  *.
      ***                 ***
     *****               *****
    .******             *******
    ********            ********
   ,,,,,,,,,***********,,,,,,,,,
  ,,,,,,,,,,,*********,,,,,,,,,,,
  .,,,,,,,,,,,*******,,,,,,,,,,,,
      ,,,,,,,,,*****,,,,,,,,,.
         ,,,,,,,****,,,,,,
            .,,,***,,,,
                ,*,.


     _______ __  __          __
    / ____(_) /_/ /   ____ _/ /_
   / / __/ / __/ /   / __ `/ __ \
  / /_/ / / /_/ /___/ /_/ / /_/ /
  \____/_/\__/_____/\__,_/_.___/


Thank you for installing GitLab!
GitLab was unable to detect a valid hostname for your instance.
Please configure a URL for your GitLab instance by setting `external_url`
configuration in /etc/gitlab/gitlab.rb file.
Then, you can start your GitLab instance by running the following command:
  sudo gitlab-ctl reconfigure

For a comprehensive list of configuration options please see the Omnibus GitLab readme
https://gitlab.com/gitlab-org/omnibus-gitlab/blob/master/README.md
4.配置GitLab
1
2
3
4
5
6
7
8
9
10
11
12
# 6. 修改gitlab配置
vi /etc/gitlab/gitlab.rb

#修改gitlab访问地址和端口,默认为80,我们改为82
external_url 'http://172.17.243.237:18080'
nginx['listen_port'] = 18080


# 8. 把端口添加到防火墙(此步改为开阿里云端口)
firewall-cmd --zone=public --add-port=82/tcp --permanent
firewall-cmd --reload
# 启动成功后,看到以下修改管理员root密码的页面,修改密码后,然后登录即可
5.启动 GitLab 服务
1
2
3
4
5
6
7
# 7. 重载配置及启动gitlab

# 初始化服务
gitlab-ctl reconfigure

# 启动服务
gitlab-ctl restart
1
2
3
4
5
6
7
8
9
10
11
12
13
14
15
16
17
18
19
20
21
22
23
24
25
26
# 初始化服务
[root@hollysys ~]# gitlab-ctl reconfigure
......
Running handlers:
Running handlers complete
Chef Client finished, 526/1425 resources updated in 02 minutes 55 seconds
gitlab Reconfigured!


# 启动服务
[root@hollysys ~]# gitlab-ctl restart
ok: run: alertmanager: (pid 15092) 1s
ok: run: gitaly: (pid 15105) 0s
ok: run: gitlab-exporter: (pid 15124) 1s
ok: run: gitlab-workhorse: (pid 15132) 0s
ok: run: grafana: (pid 15144) 0s
ok: run: logrotate: (pid 15156) 1s
ok: run: nginx: (pid 15163) 0s
ok: run: node-exporter: (pid 15170) 1s
ok: run: postgres-exporter: (pid 15251) 0s
ok: run: postgresql: (pid 15262) 1s
ok: run: prometheus: (pid 15271) 0s
ok: run: redis: (pid 15282) 0s
ok: run: redis-exporter: (pid 15316) 1s
ok: run: sidekiq: (pid 15325) 0s
ok: run: unicorn: (pid 15336) 0s
6.使用浏览器访问 GitLab
1
2
3
4
5
6
7
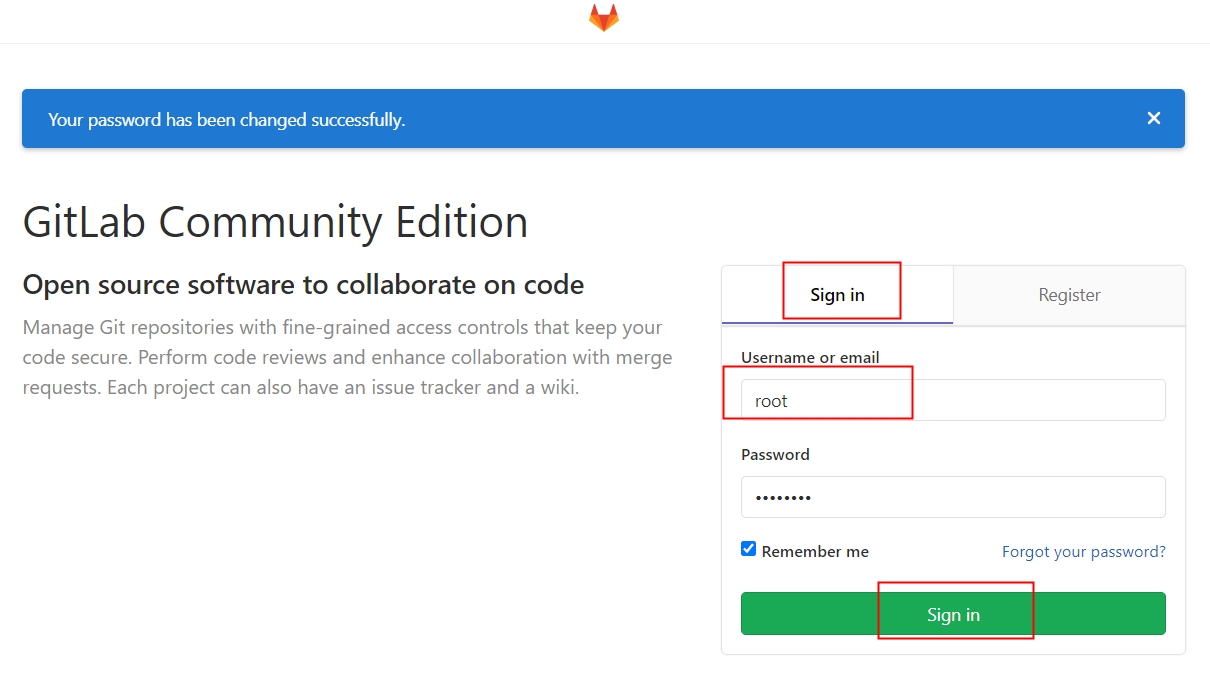
地址:http://182.92.210.65:18080/
root
******


# 首次登陆之前,需要修改下 GitLab 提供的 root 账户的密码,
# 密码要求 8 位以上,包含大小写子母和特殊符号。因此我们修改密码为 ******
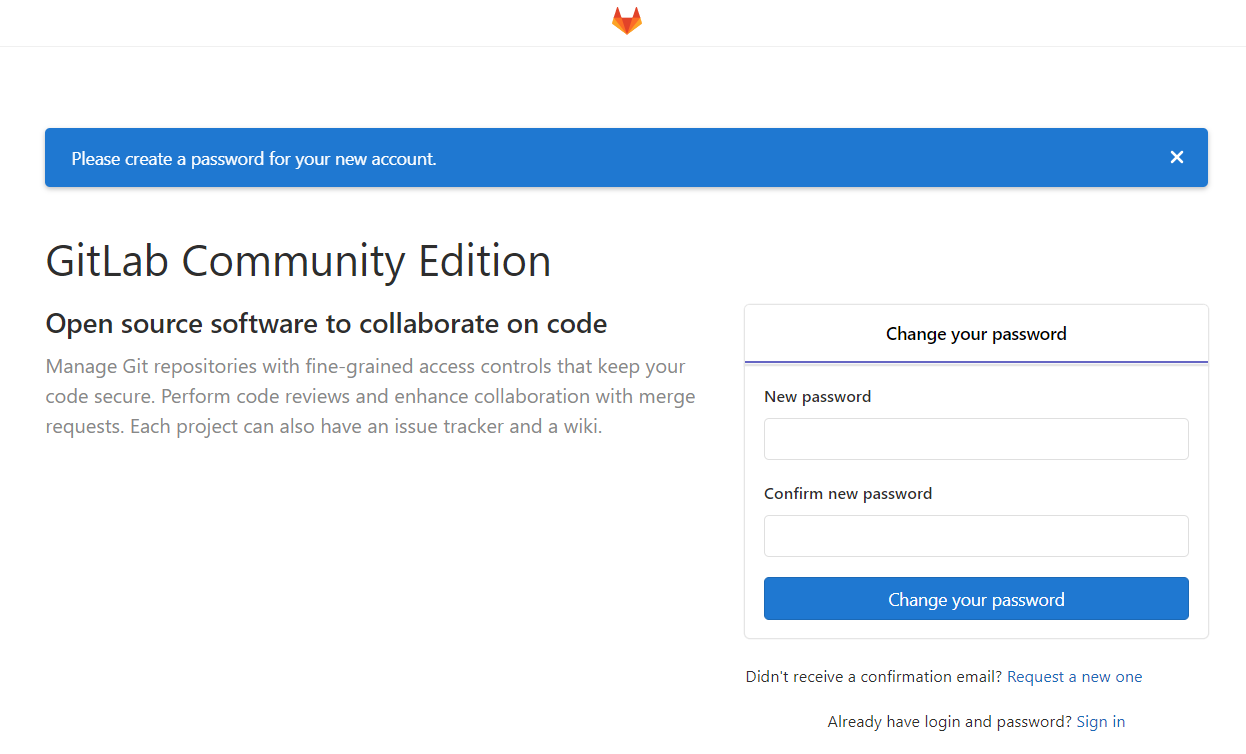
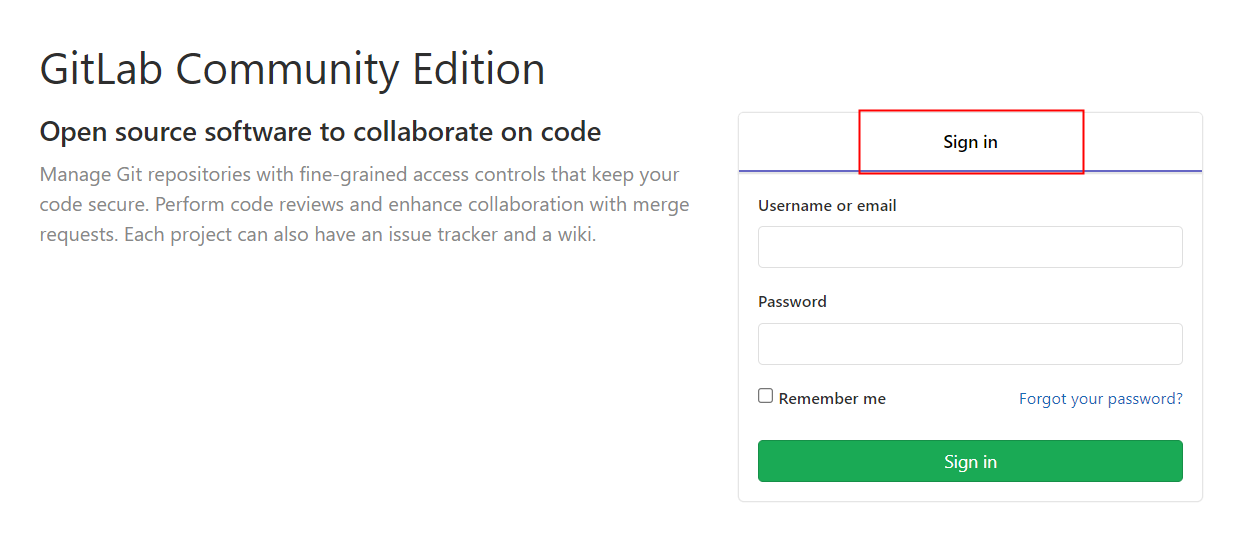
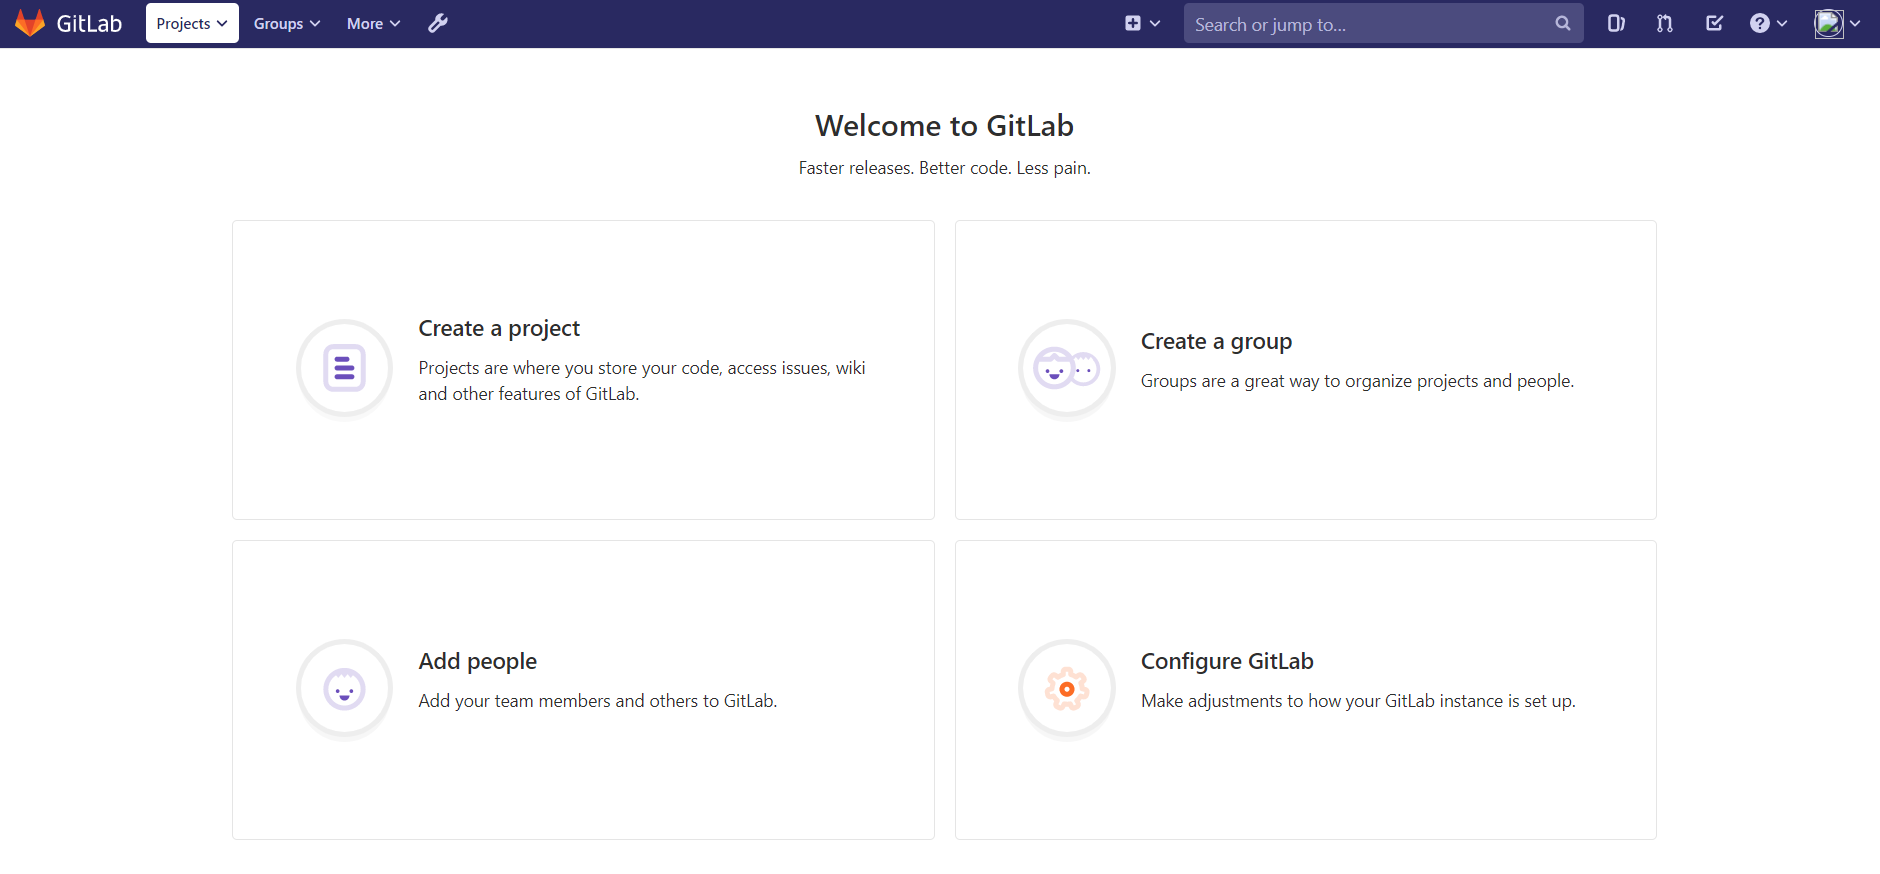
登录系统
登录成功
7.去掉自动注册功能
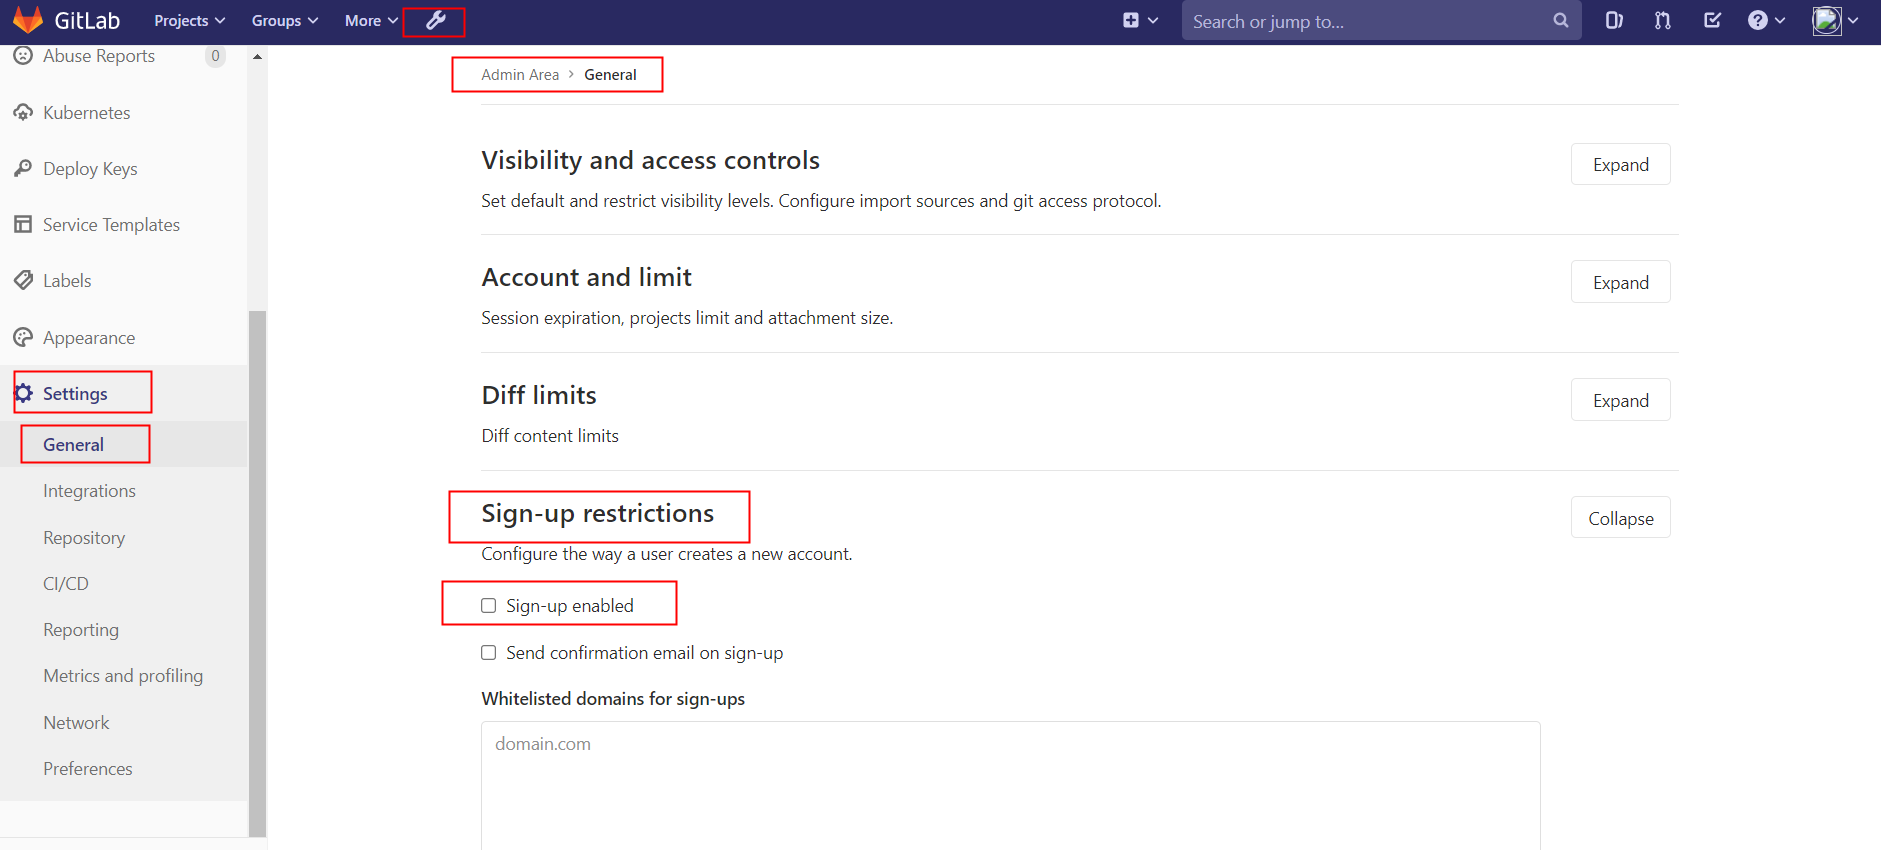
admin are -> settings -> Sign-up Restrictions 去掉钩钩,然后拉到最下面保存,重新登录
